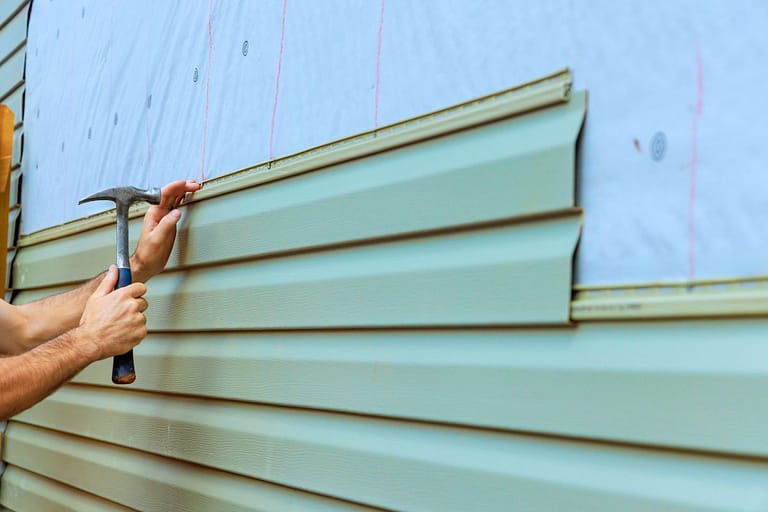
Metal roofing is a popular choice for many homeowners due to its durability, longevity, and energy efficiency. It’s also a favorite among DIY enthusiasts looking to undertake home improvement projects. However, cutting metal roofing can be intimidating if you’re not familiar with the proper techniques and tools.
This blog post will walk you through:
- The benefits of metal roofing
- How to cut metal roofing
- When to hire a professional
Why Choose Metal Roofing?
Before we get into the specifics of cutting metal roofing, it’s important to understand why this material is an excellent choice for your home:
- Longevity: Metal roofs can last up to 70 years, far outlasting traditional shingle roofs.
- Durability: Metal roofs are highly resistant to wind, rain, and even fire.
- Energy Efficiency: Reflective coatings on metal roofs can help reduce energy costs.
- Environmental Impact: Most metal roofing materials are recyclable.
Tools You Will Need
To cut metal roofing, you’ll need the right tools to ensure clean and precise cuts. Here are some essential tools:
- Tin Snips: Ideal for small cuts and trimming.
- Circular Saw with Metal-Cutting Blade: Excellent for long, straight cuts.
- Angle Grinder: Useful for more intricate cuts and edges.
- Nibbler: Perfect for making curved cuts.
- Safety Gear: Gloves, safety glasses, and ear protection are a must.
Safety Precautions
Cutting metal roofing can be dangerous if proper safety precautions are not taken. Always follow these guidelines:
- Wear Protective Gear: Safety glasses, gloves, and ear protection.
- Work in a Well-Ventilated Area: Cutting metal produces sparks and debris which can be hazardous.
- Secure Your Material: Make sure the metal sheet is securely clamped down.
- Proper Lighting: Ensure your workspace is well-lit so you can see clearly.
6 Step Guide for Cutting Metal Roofing
Cut your metal roofing like a professional by following these tips.
1. Measure and Mark
Before you begin cutting, accurate measurements are crucial. Use a tape measure to measure your metal roofing sheets and mark the cutting lines with a permanent marker.
- Double-Check Measurements: Measure twice, cut once. This old adage holds true especially when working with expensive materials like metal.
- Use a Straight Edge: A metal ruler or a piece of wood can help you mark straight lines.
2. Selecting the Right Tool
Choosing the right cutting tool depends on the type and thickness of the metal, as well as the type of cut you need to make.
- For Small Cuts: Tin snips are sufficient for small cuts and trims.
- For Long, Straight Cuts: A circular saw with a metal-cutting blade is ideal.
- For Curved Cuts: A nibbler or angle grinder works best.
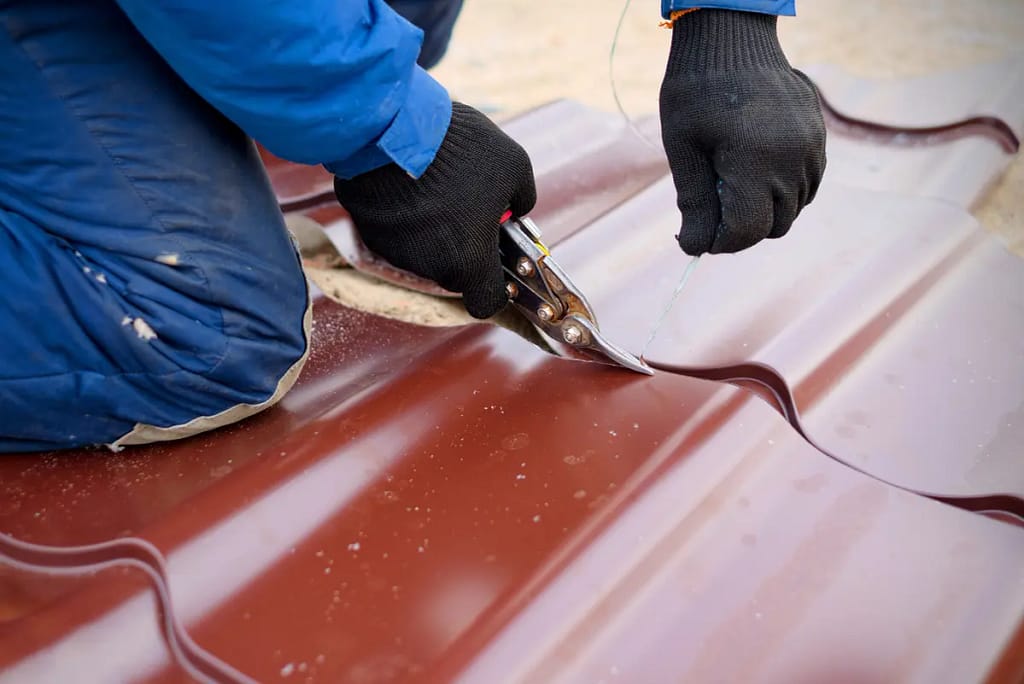
3. Cutting with Tin Snips
Tin snips are excellent for making small, precise cuts. They come in three types—straight-cut, left-cut, and right-cut—which allow for different cutting angles.
- Straight-Cut Snips: Best for straight lines.
- Left-Cut Snips: Ideal for making leftward curves.
- Right-Cut Snips: Perfect for rightward curves.
Steps:
- Position the Snips: Place the snips at the edge of your marked line.
- Make the Cut: Press the handles together firmly to cut through the metal.
- Follow the Line: Continue along the marked line, keeping the snips aligned with your marks.
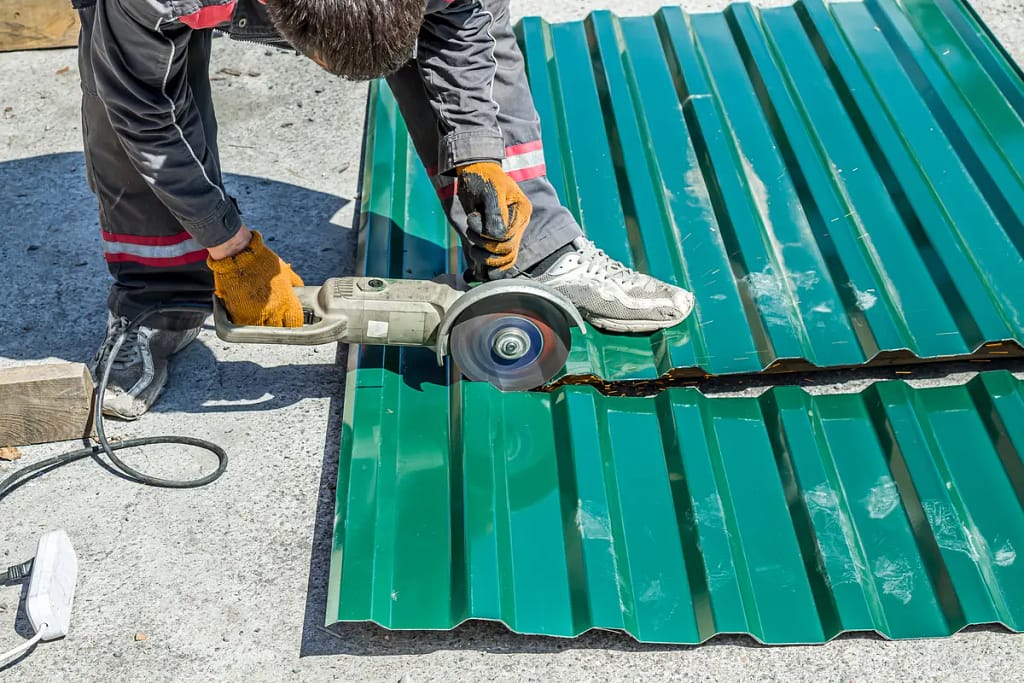
4. Cutting with a Circular Saw
A circular saw equipped with a metal-cutting blade is perfect for long, straight cuts.
Steps:
- Set Up the Saw: Attach a metal-cutting blade to your circular saw.
- Secure the Metal Sheet: Use clamps to hold the metal sheet in place.
- Start Cutting: Position the saw at the edge of the marked line and slowly guide it through the metal.
- Smooth the Edges: After cutting, the edges may be rough. Use a file or sandpaper to smooth them out.
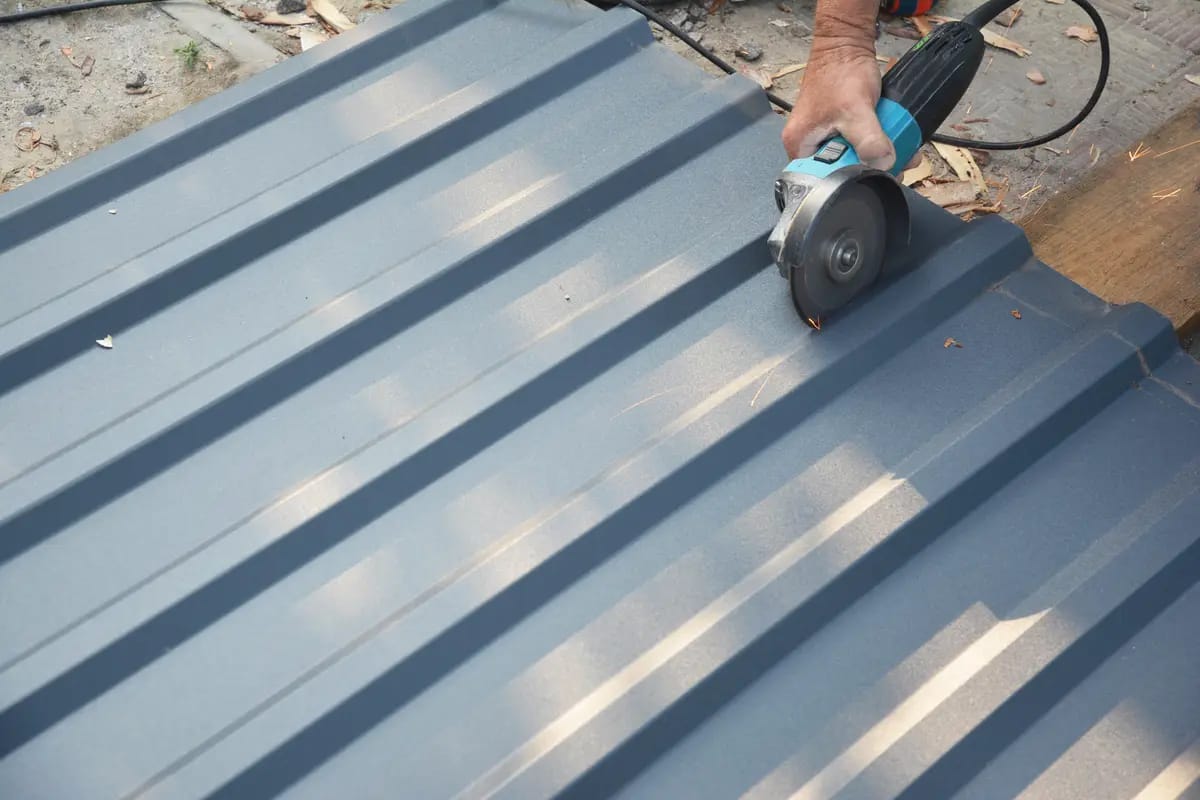
5. Cutting with an Angle Grinder
An angle grinder is versatile for both straight and curved cuts.
Steps:
- Attach the Blade: Use a metal-cutting disc.
- Secure the Metal Sheet: Clamp it down securely.
- Make the Cut: Slowly guide the grinder along your marked line, applying steady pressure.
- Smooth the Edges: Just like with a circular saw, use a file to smooth out the rough edges.
6. Cutting with a Nibbler
A nibbler is a specialized tool that makes cutting metal sheets easy, especially for curved and intricate designs.
Steps:
- Attach the Nibbler: Connect it to a power source if it’s electric.
- Position the Nibbler: Place it at the starting point of your marked line.
- Start Cutting: Gently guide the nibbler along the line, allowing the tool to do the work.
- Inspect the Cut: Ensure the cut is clean and even.
Post-Cutting Care
Once you’ve made your cuts, there are a few post-cutting steps to ensure your metal roofing is ready for installation.
- Smooth the Edges: Use a metal file to smooth out any rough or sharp edges.
- Clean the Surface: Remove any metal shavings or debris.
- Inspect: Double-check your cuts to ensure they match your measurements.
Common Mistakes to Avoid
Here are some common pitfalls to avoid when cutting metal roofing:
- Inaccurate Measurements: Always double-check your measurements before cutting.
- Wrong Tool Selection: Using the wrong tool can lead to inaccurate cuts and wasted materials.
- Ignoring Safety Precautions: Never underestimate the importance of safety gear.
- Rushing the Process: Take your time to make precise, clean cuts.
Tips for Successful Cutting
- Use Quality Tools: Investing in high-quality tools can make the job easier and the cuts cleaner.
- Take Breaks: Cutting metal can be tedious; take breaks to avoid fatigue and maintain precision.
- Seek Help: If you’re unsure about any step, don’t hesitate to ask for help or consult online tutorials.
When to Hire a Professional
Cutting metal roofing can be a demanding task that requires skill, precision, and the right tools. While many individuals can complete smaller projects with the right guidance and equipment, there are certain situations where hiring a professional is advisable:
- Complex Projects: If your project involves intricate designs or requires cutting metal in a variety of shapes and curves, a professional’s expertise ensures accuracy and quality.
- Large Scale Jobs: For expansive roofs or multiple sheets of metal, a professional service can save you time and effort with their ability to efficiently handle large volumes.
- Lack of Tools: Professional metalworkers have access to specialized, high-quality tools which may not be available to the average DIY enthusiast.
- Structural Integrity Concerns: Ensuring the roof’s stability and absence of structural damage is crucial; professionals can ensure cuts are made without compromising the roofing’s integrity.
- Time Constraints: If time is a critical factor and the roof needs to be completed quickly, hiring a professional can expedite the process.
- Safety Concerns: Professionals are trained to handle the risks and safety challenges inherent in cutting metal roofing.
Engaging a seasoned professional not only provides peace of mind but can also be cost-effective in the long run by avoiding potential mistakes and ensuring a high-quality finish.
Let Us Install Your Metal Roofing Panels For You
Cutting metal roofing can be a rewarding DIY project when done correctly. Remember, the key to successful cutting lies in accurate measurements, the right tools, and strict adherence to safety precautions.
When you need support for your metal roof, reach out to O’Donnell Roofing for expert care you can count on!