Whether you’re installing a new roof or upgrading your existing one, proper roof ventilation is essential. Roof vents help regulate temperature, reduce moisture, and improve the overall efficiency of your home’s HVAC system.
This guide will take you through everything you need to know about roof vent installation, from:
- Understanding the types of roof vents available
- Different types of roof vents
- Step-by-step instructions on how to install them
Why Roof Ventilation Matters
Roof ventilation is critical to the overall health and longevity of your roofing system. Here are just a few of the reasons why it matters.
- Temperature Regulation: Proper roof ventilation helps manage the temperature inside your attic. In the summer, it allows hot air to escape, reducing the strain on your air conditioning system and keeping your living space cooler. In the winter, it prevents warm, moist air from getting trapped in the attic, which can lead to ice dams and other issues.
- Moisture Control: Moisture buildup in the attic can lead to a host of problems, including mold, mildew, and wood rot. Roof vents allow moisture to escape, preserving the integrity of your roof and overall home structure.
- Energy Efficiency: By regulating the temperature and moisture levels in your attic, roof vents make your home more energy-efficient. Your HVAC system won’t have to work as hard, which can result in lower energy bills.
- Prolonged Roof Life: Effective ventilation ensures that your roofing materials last longer by preventing the buildup of heat and moisture that can cause premature aging.
5 Types of Roof Vents
Different types of roof vents serve various purposes and are suitable for different kinds of roofing systems. Proper attic ventilation is essential for regulating temperature, reducing moisture buildup, and extending the lifespan of your roof. In 2026, many homeowners are prioritizing balanced ventilation systems that combine intake and exhaust vents for optimal performance.
Choosing the right roof vent depends on your roof design, climate, and overall ventilation goals. Below are five of the most common types of roof vents and how they function.
1) Ridge Vents
Ridge vents are installed at the peak of the roof and run along the entire ridge line. They provide continuous ventilation and are often considered one of the most effective and balanced ventilation options for modern homes.
Because they are installed along the highest point of the roof, ridge vents allow hot air to naturally rise and escape from the attic, improving overall airflow.
- Continuous airflow: Runs along the entire ridge for even ventilation.
- Low profile design: Blends seamlessly with the roofline.
- Efficient exhaust system: Works best when paired with soffit vents.
2) Soffit Vents
Soffit vents are installed under the eaves of the roof and serve as intake vents. They allow cooler outside air to enter the attic, which helps push hot air out through exhaust vents such as ridge or box vents.
This intake and exhaust system is critical for maintaining proper attic ventilation and preventing heat buildup.
- Fresh air intake: Pulls cooler air into the attic space.
- Moisture control: Helps reduce condensation and mold risk.
- Essential pairing: Works best with ridge or other exhaust vents.
3) Gable Vents
Gable vents are installed on the exterior wall of a home near the roof peak, typically in the triangular portion of the siding. They allow air to flow in and out of the attic through the sides of the structure.
While not as efficient as a full ridge and soffit system, gable vents can still provide adequate ventilation, especially in older homes.
- Wall-mounted design: Installed on the gable ends of the home.
- Supplemental airflow: Can support other ventilation systems.
- Simple installation: Often used in existing structures.
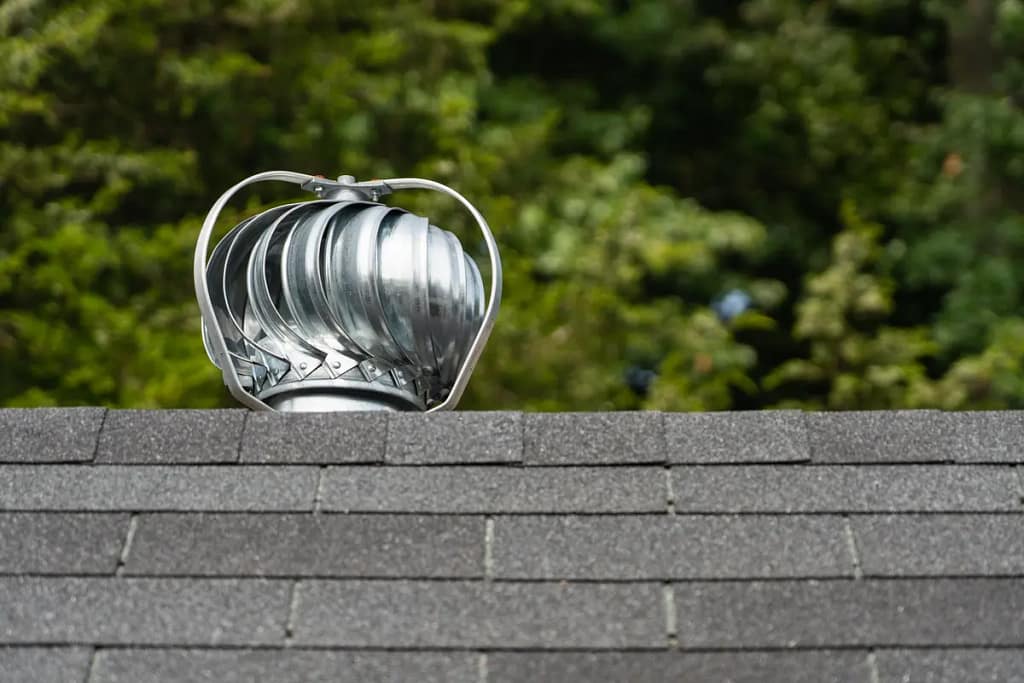
4) Turbine Vents
Turbine vents, also known as whirlybirds, use wind power to spin internal blades that pull hot air out of the attic. As wind moves the turbine, it creates suction that improves ventilation.
These vents can be very effective in areas with consistent airflow but may be less reliable in calmer climates.
- Wind-powered ventilation: Uses natural airflow to remove heat.
- High air movement: Can expel large amounts of hot air quickly.
- Performance dependent: Works best in windy conditions.
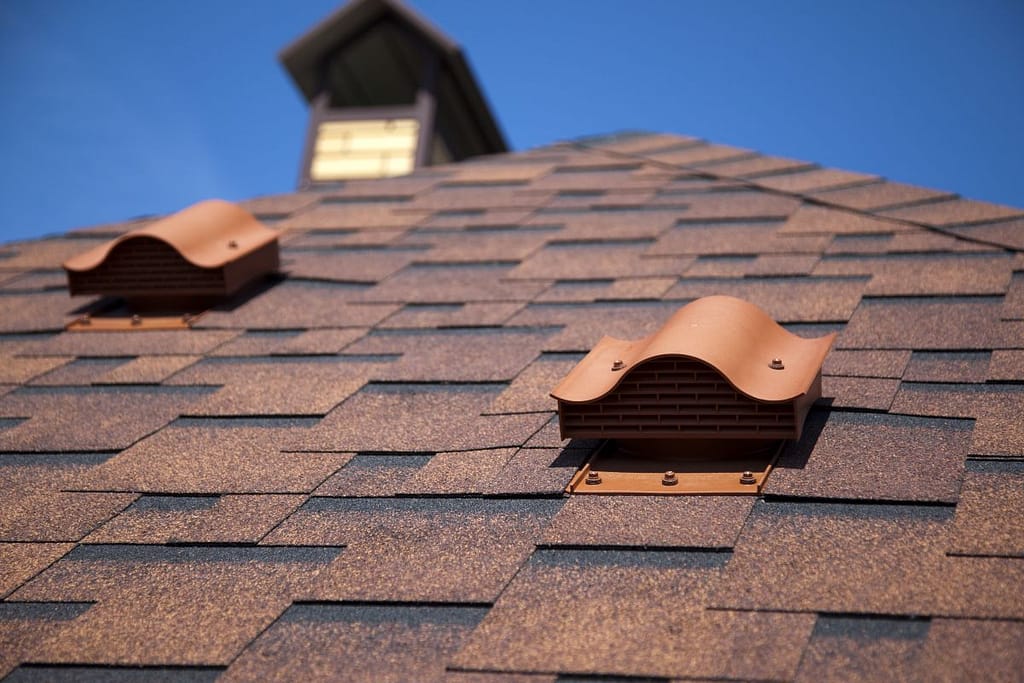
5) Box Vents
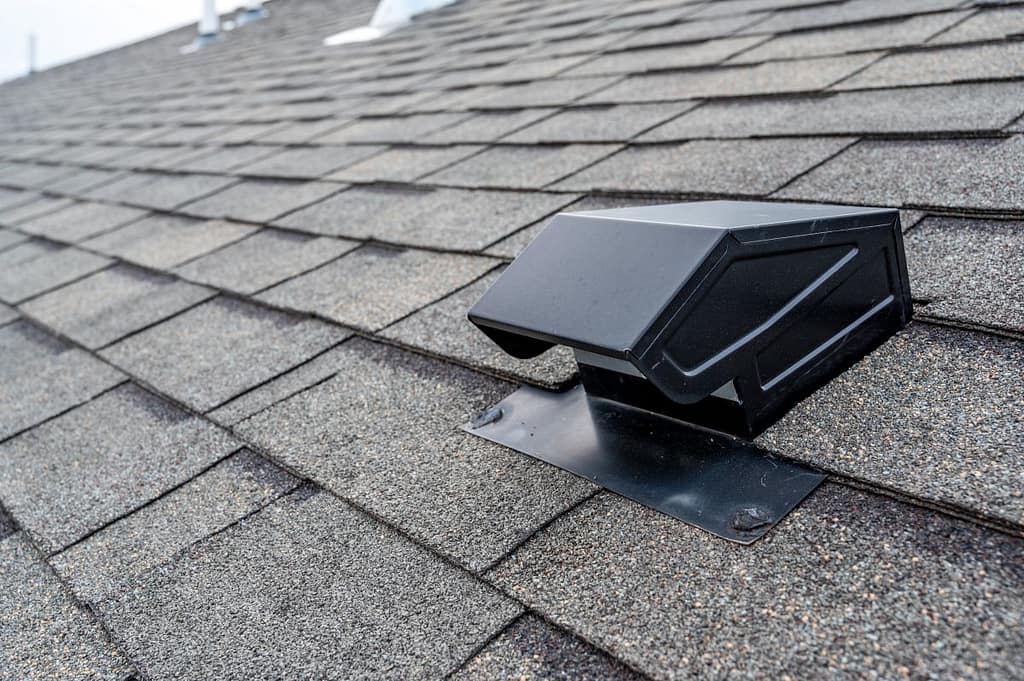
Box vents, also called static vents, are installed near the ridge of the roof and allow hot air to escape through natural convection. They do not rely on moving parts, making them a simple and reliable option.
Although they are not as efficient as continuous ridge vents, they are commonly used in homes where ridge vents are not practical.
- Flexible placement: Installed in multiple locations for better coverage.
- No moving parts: Low maintenance and simple design.
- Passive ventilation: Relies on natural airflow.
Planning Your Roof Vent Installation
Before you start installing roof vents, there are several factors to consider:
Assess Your Ventilation Needs
Different homes have different ventilation needs. Factors like the size of your attic, the pitch of your roof, and the climate in your area all play a role in determining how many vents you need and what type will be most effective.
Calculate Ventilation Requirements
The general rule of thumb is to provide 1 square foot of ventilation for every 300 square feet of attic space. Divide this ventilation equally between intake and exhaust vents.
Choose the Right Type of Vents
Based on your calculations and the specific needs of your home, choose the type of vents that will offer the best performance.
Gather Tools and Materials
- Measuring tape
- Ladder
- Circular saw or jigsaw
- Hammer and nails or drill and screws
- Roofing cement
- Roof vent(s)
- Safety gear (gloves, goggles, and a harness if working on a steep roof)
6 Step Installation Guide for Roof Vents
Installing roof vents correctly is essential for maintaining proper attic ventilation and protecting your roofing system. Each step in the process plays a role in ensuring airflow, preventing leaks, and improving long-term performance.
Below is a step-by-step guide with key considerations for each stage of installation.
1. Prepare The Area
Start by ensuring that the area where you’ll be installing the vents is clean and free of debris. Proper preparation helps prevent installation issues and ensures a secure fit.
- Clear debris: Remove dirt, old roofing materials, and obstructions.
- Remove old vents: Carefully take out existing vents if replacing them.
- Inspect the surface: Check for damage or rot before proceeding.
2. Measure And Mark
Accurate measurements are critical to proper vent placement and performance. Incorrect positioning can reduce airflow and lead to ventilation issues.
- Use precise measurements: Mark exact placement before cutting.
- Follow vent type guidelines: Ridge vents go along the peak, while soffit and gable vents have specific placement areas.
- Double-check alignment: Ensure markings are straight and evenly spaced.
3. Cut The Opening
Using a circular saw or jigsaw, cut an opening in the roof according to the measurements you marked. This step requires precision to avoid damaging surrounding materials.
- Cut carefully: Follow markings to create a clean opening.
- Size appropriately: Opening should be slightly smaller than the vent base.
- Protect surrounding areas: Avoid cutting into structural components.
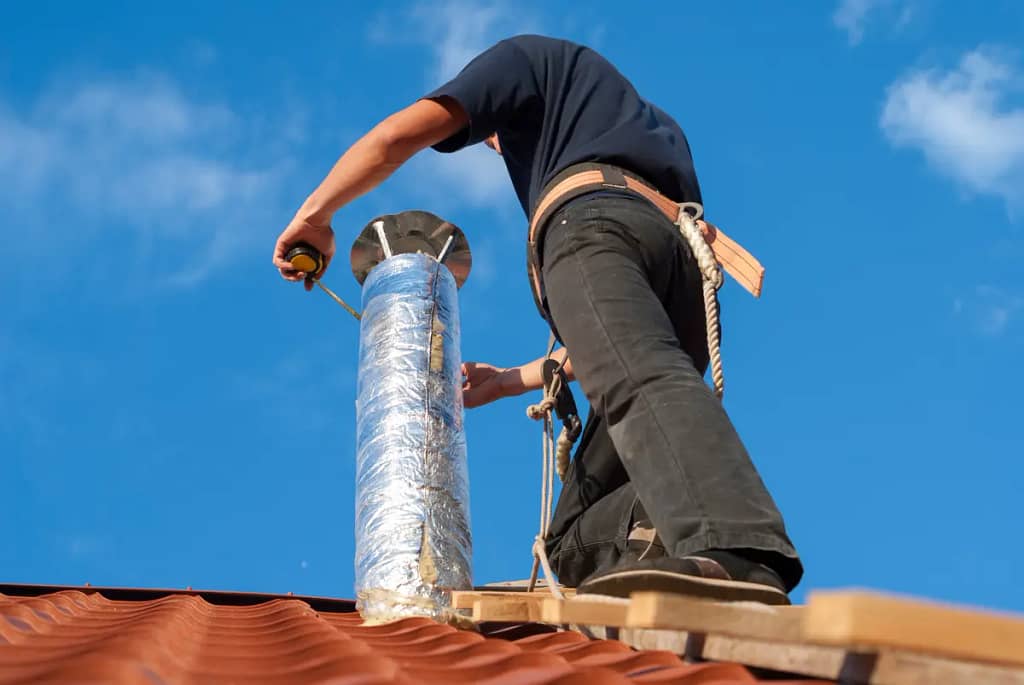
4. Install The Vent
Place the vent over the opening and secure it with nails or screws. Proper installation ensures durability and prevents leaks.
- Secure fastening: Use corrosion-resistant nails or screws.
- Align correctly: Ensure the vent sits flat against the roof surface.
- Seal edges: Apply roofing cement to prevent water intrusion.
5. Check For Proper Ventilation
After installing the vents, go into the attic and check to make sure air is flowing freely through the system. This step confirms that your ventilation setup is working as intended.
- Test airflow: Feel for air movement through intake and exhaust vents.
- Check temperature balance: Proper ventilation reduces heat buildup.
- Monitor humidity levels: Helps prevent moisture-related issues.
6. Inspect And Maintain
Regular maintenance is essential to keep your roof ventilation system functioning efficiently. Over time, debris and wear can impact performance.
- Schedule routine checks: Helps extend the lifespan of your system.
- Remove blockages: Clear leaves, dust, and debris regularly.
- Inspect for damage: Look for cracks, rust, or loose components.
Tips For Effective Roof Ventilation
Want to make sure that your roof ventilation system is efficient and effective? Proper ventilation is one of the most important yet overlooked parts of a roofing system. Without it, heat and moisture can build up in your attic, leading to higher energy bills, mold growth, and premature roof deterioration.
In 2026, modern roofing systems are designed with balanced airflow in mind. Following these expert tips will help ensure your roof ventilation system performs properly and protects your home long-term.
Balance Intake And Exhaust
Proper ventilation requires a balance between intake and exhaust vents. Without this balance, airflow becomes restricted, which reduces the effectiveness of your entire system.
A well-designed system allows cool air to enter through intake vents while hot, moist air exits through exhaust vents.
- Equal airflow distribution: Intake and exhaust should be properly matched.
- Soffit vent importance: Provides consistent fresh air intake.
- Exhaust vent pairing: Ridge, box, or turbine vents remove hot air efficiently.
Consider Climate
The climate in your area plays a major role in determining how much ventilation your home needs. Different regions require different ventilation strategies to manage temperature and moisture effectively.
Homes in warmer or more humid environments typically require more airflow to prevent heat buildup and condensation issues.
- Hot climates: Require increased ventilation to reduce attic heat.
- Cold climates: Help prevent ice dams by maintaining consistent temperatures.
- Humidity control: Proper airflow reduces moisture-related damage.
Ensure Proper Vent Placement
Even with the right number of vents, improper placement can reduce system performance. Vent positioning is critical for creating natural airflow throughout the attic space.
Vents should be installed in locations that allow air to move freely from intake to exhaust.
- Low-to-high airflow path: Intake vents at the eaves and exhaust near the ridge.
- Even distribution: Prevents hot spots in the attic.
- Avoid blocked vents: Insulation or debris should not obstruct airflow.
Avoid Mixing Vent Types Improperly
Not all ventilation systems work well together. Mixing certain types of vents without proper planning can disrupt airflow and reduce efficiency.
For example, combining ridge vents with gable vents may cause air to circulate incorrectly rather than exit the attic.
- System compatibility: Ensure vent types work together.
- Prevent short-circuiting airflow: Air should move upward and out.
- Consistent design approach: Stick to one primary ventilation strategy.
Inspect And Maintain Vents Regularly
Roof ventilation systems require periodic inspection to ensure they continue functioning properly. Over time, vents can become blocked or damaged, reducing airflow.
Routine maintenance helps prevent long-term issues and ensures consistent performance.
- Check for blockages: Leaves, dirt, and insulation can restrict airflow.
- Inspect for damage: Look for cracks or worn components.
- Seasonal maintenance: Ideal during spring and fall.
Consult A Professional
If you’re unsure about any aspect of roof vent installation or performance, consult a professional. Roofing experts can evaluate your current system and recommend improvements based on your home’s design and location.
Professional guidance ensures that your ventilation system meets modern standards and performs efficiently.
- Long-term performance: Reduces risk of costly repairs.
- Expert evaluation: Identifies ventilation gaps or inefficiencies.
- Code compliance: Ensures installation meets local requirements.
Common Mistakes to Avoid
If you choose to install a roof vent on your own, it is easy to make mistakes. Here are the main mistakes to watch out for.
- Over-ventilating: More vents aren’t always better. Over-ventilating your roof can disrupt the airflow and reduce the effectiveness of your ventilation system.
- Incorrect Placement: Placing vents in the wrong location can hinder their performance. Make sure to follow the manufacturer’s guidelines for optimal placement.
- Ignoring Maintenance: Neglecting to maintain your roof vents can lead to clogs and reduced airflow. Regularly check and clean your vents to keep them functioning properly.
Your Top Roof Ventilation Experts
Proper roof ventilation is crucial for maintaining the health and efficiency of your home. By understanding the different types of roof vents and following the steps outlined in this guide, you can ensure your attic stays cool, dry, and energy-efficient. If you have any doubts about installing roof vents yourself, don’t hesitate to seek professional help. With the right approach, you’ll enjoy a more comfortable living environment and extend the lifespan of your roof.
Looking to upgrade your roof ventilation system? Contact our team of experts at O’Donnell Roofing for a consultation and ensure your home stays cool and efficient year-round. Get started today!