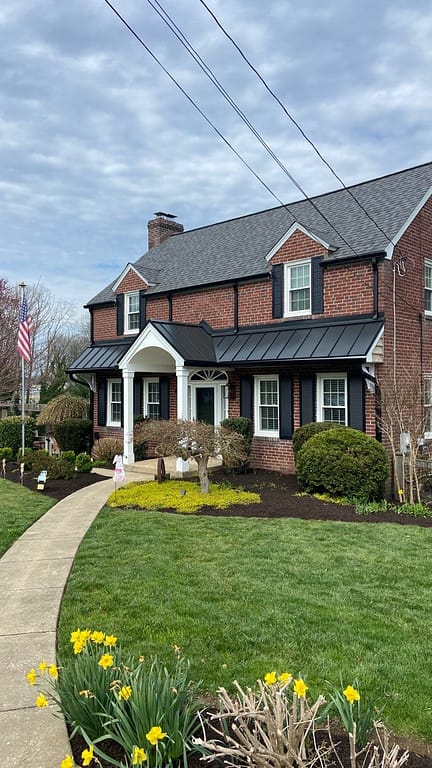
A damaged roof can lead to significant problems for homeowners, from water leaks to compromised structural integrity. If you’ve been searching for information on how to safely complete a roof patch, we’ve got you covered. This guide will walk you through the entire process of patching your roof step by step, helping you protect your home while saving on expensive repairs.
Whether you’re dealing with a leaky roof, missing shingles, or minor cracks, the following guide will help you:
- Understand the tools and materials you’ll need for a roof repair
- Learn expert techniques to minimize potential future damage
- Make confident decisions about DIY roofing or when to call a professional
Now, let’s get started on your roof repair project!
Understanding When A Roof Patch Is Needed

Before starting any roof repair, it is important to understand whether a patch is the right solution. Not all roofing damage can be fixed with a simple repair, and identifying the severity of the issue helps guide your next steps.
A roof patch is typically best for localized damage rather than widespread deterioration. Recognizing early warning signs can help you act quickly and prevent more serious structural concerns.
Recognizing Common Roofing Issues
Homeowners often encounter several types of roof damage that may require patching. Identifying the specific issue will help determine the best repair approach.
- Leaking roof areas: Often caused by damaged shingles or failing flashing.
- Missing or lifted shingles: Leaves the roof exposed to moisture.
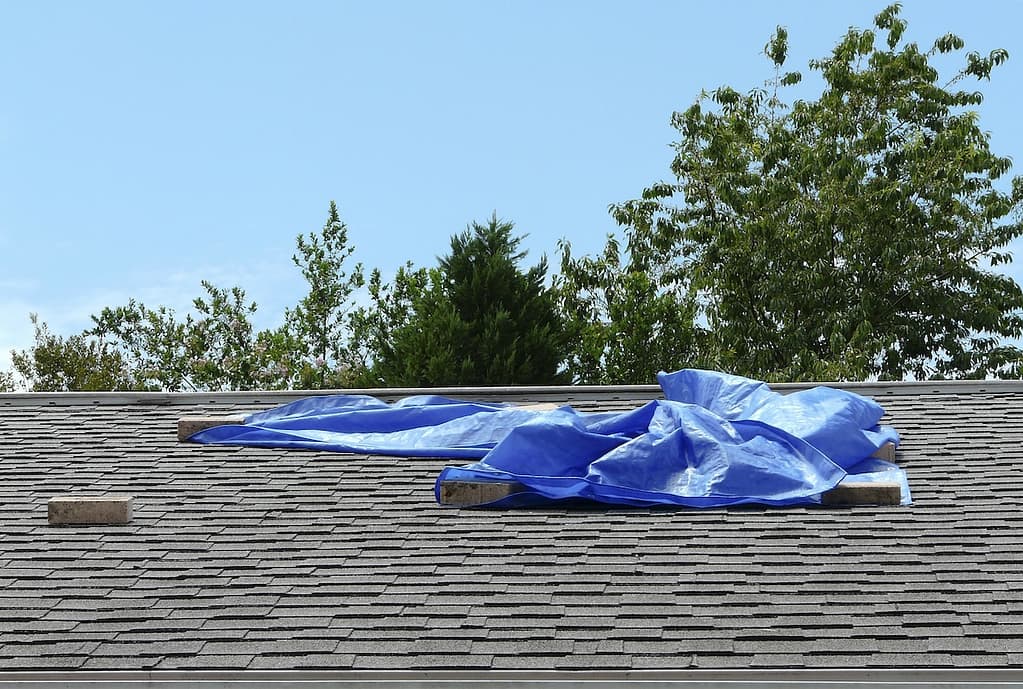
- Punctures or small holes: Can result from debris or storm damage.
- Cracking or blistering: Indicates aging or heat-related wear.
When To Take Action
Timing is critical when it comes to roof repair. Waiting too long can allow moisture to spread and cause interior damage.
- Water stains inside the home: Suggest an active leak.
- Visible exterior damage: Missing shingles or exposed underlayment.
- Recurring issues: Repeated leaks may indicate deeper problems.
If damage appears extensive or structural, a full professional roof repair may be necessary instead of a DIY roof patch.
What You’ll Need Before Starting Your Roof Patch
Preparation is one of the most important parts of any roofing project. Having the right tools and materials ready ensures the repair process goes smoothly and safely.
Proper preparation also reduces the risk of mistakes that could lead to additional repairs later.
Essential Tools And Materials
Before starting your roof patch, gather all necessary supplies to avoid interruptions during the process.
- Ladder and safety gear: Includes gloves, goggles, and non-slip footwear.
- Roofing nails and hammer: Used to secure shingles in place.
- Roofing adhesive or sealant: Helps create a watertight seal.
- Replacement shingles: Must match existing roofing material.
- Utility knife and putty knife: Used for cutting and surface prep.
Being fully prepared allows you to complete your roof repair more efficiently and safely.
7 Step Guide To Patching Your Roof
Patching your roof requires careful attention to detail. Each step plays a role in ensuring the repair is durable and prevents future issues.
Follow these steps to complete a proper roof patch.
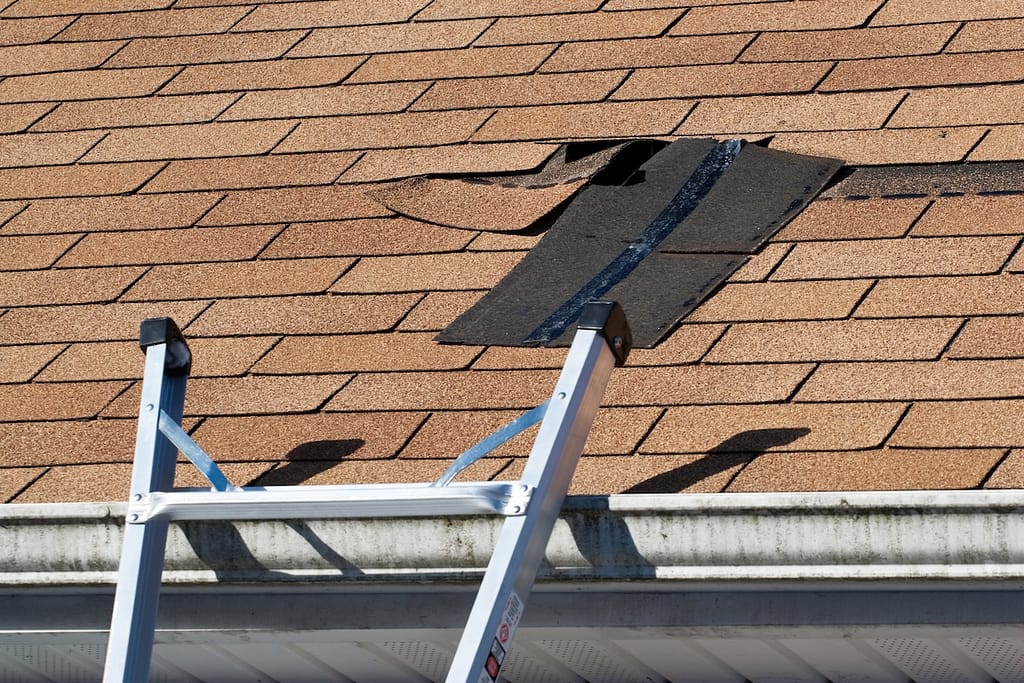
1. Inspect The Damage
Begin by carefully inspecting the damaged area. Understanding the extent of the problem will help determine how large the repair needs to be.
- Identify damage type: Missing shingles, cracks, or holes.
- Check surrounding areas: Ensure nearby materials are stable.
- Look for underlying issues: Signs of rot or moisture buildup.
2. Ensure Safety First
Safety should always be your top priority when working on a roof. Even minor repairs can be dangerous without proper precautions.
- Stabilize your ladder: Ensure it is on level ground.
- Wear proper footwear: Non-slip shoes reduce fall risk.
- Avoid bad weather: Do not work in rain, wind, or extreme heat.
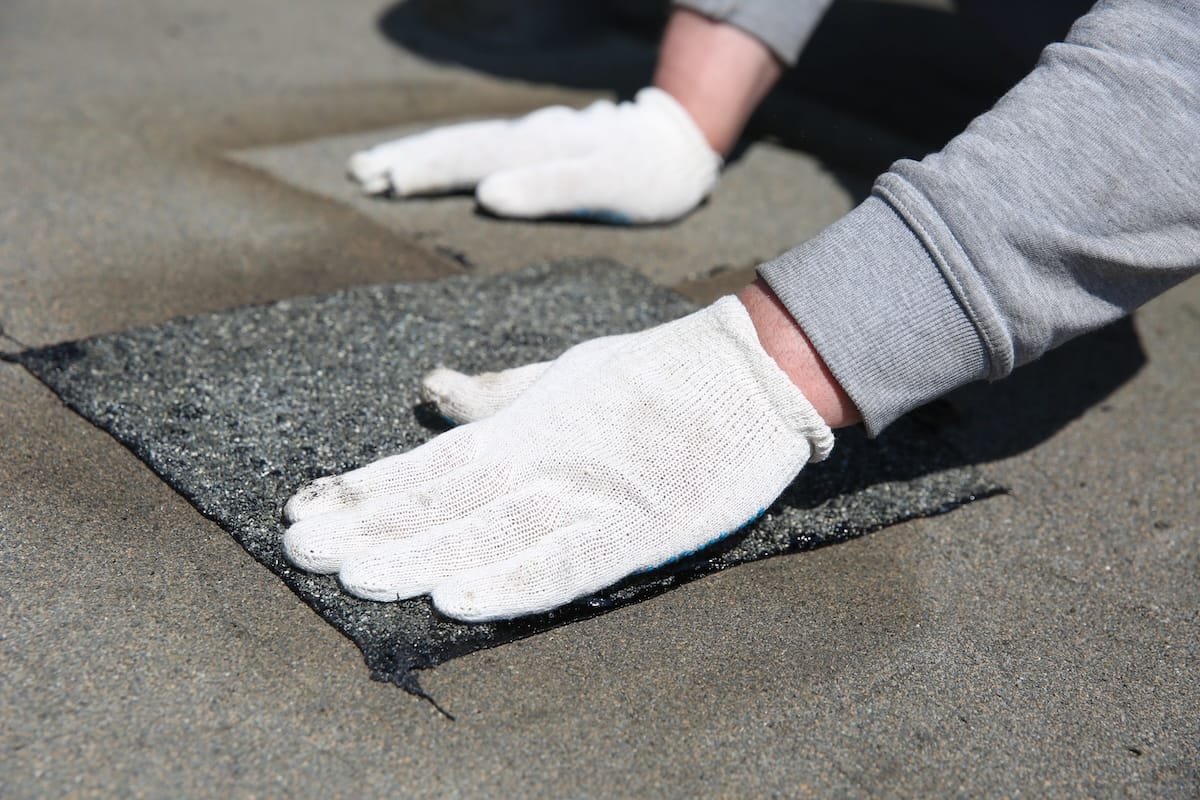
3. Prep The Surface
Preparing the repair area ensures proper adhesion and long-term performance of your patch.
- Remove debris: Clear dirt, leaves, and damaged materials.
- Clean the area: Ensure a smooth surface for installation.
- Dry thoroughly: Moisture can prevent proper sealing.
4. Apply Roofing Paper (If Needed)
In some cases, adding underlayment improves the durability of your roof patch.
- Cut to size: Ensure it extends beyond the damaged area.
- Secure properly: Use nails or adhesive for stability.
- Lay flat: Avoid wrinkles or gaps in coverage.
5. Attach Replacement Shingles
Replacing damaged shingles restores the protective layer of your roof.
- Align correctly: Match existing shingles for a seamless look.
- Secure firmly: Nail shingles into place at proper points.
- Seal edges: Prevent water from entering underneath.
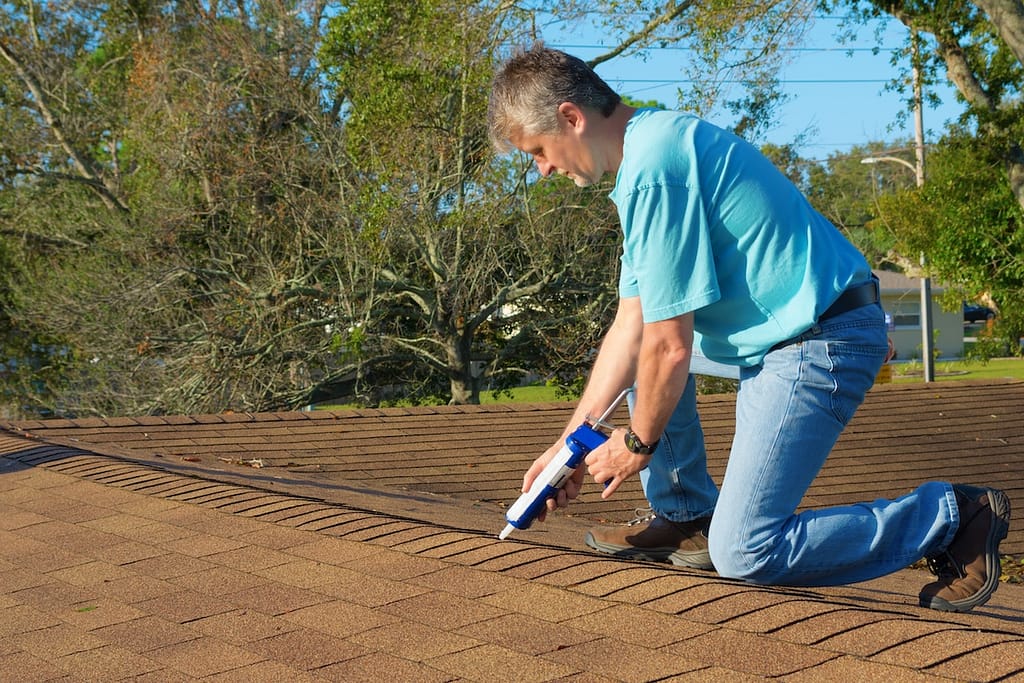
6. Seal All Edges And Cracks
Sealing is essential for preventing leaks and ensuring long-term protection.
- Apply roofing sealant: Cover nail holes and seams.
- Smooth evenly: Use a putty knife for a clean finish.
- Avoid overuse: Excess sealant can affect appearance and performance.
7. Inspect Your Work
After completing the patch, take time to review the repair and ensure everything is secure.
- Check for gaps: Look for exposed areas.
- Test with water: Confirm no leaks are present.
- Make adjustments: Fix any weak points immediately.
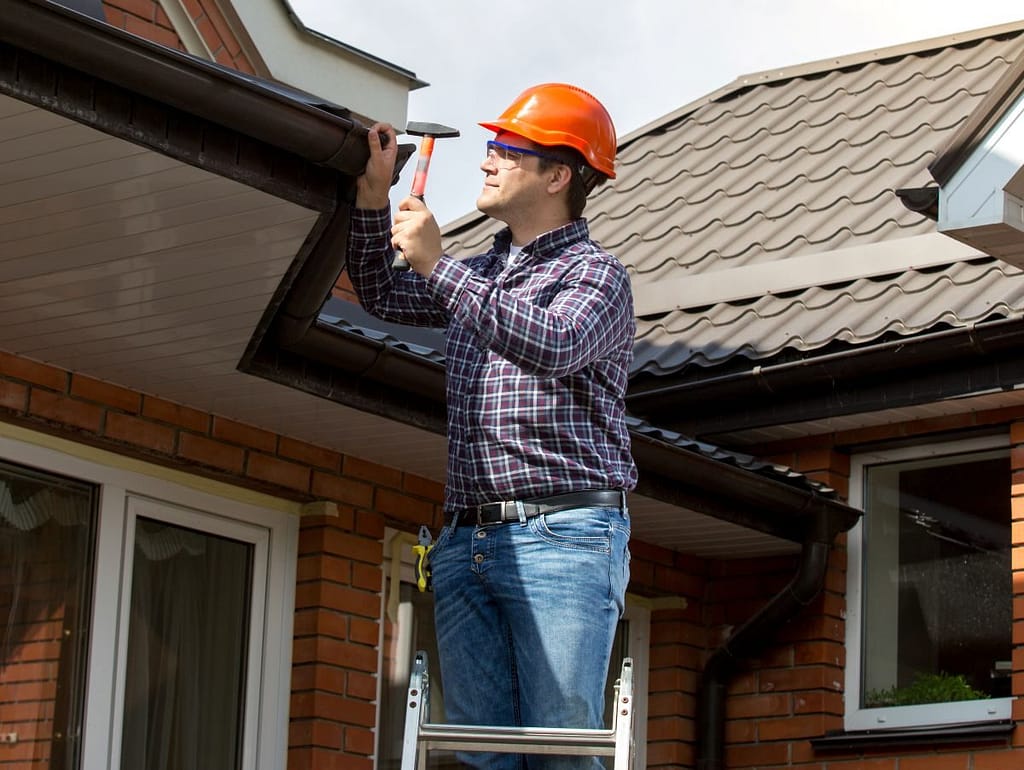
The Benefits Of Professional Roof Repair
While a DIY roof patch can address very minor issues, most roof repair situations require professional expertise to ensure the problem is fully resolved. Roofing systems are more complex than they appear, and what looks like a small issue on the surface can often be tied to deeper structural or moisture-related damage.
Professional roof repair provides a level of precision, safety, and long-term reliability that is difficult to achieve with DIY methods. In many cases, attempting to patch your roof without proper knowledge can lead to incomplete repairs, which may result in recurring leaks, hidden damage, or even higher costs down the line.
Hiring a professional roofing contractor ensures that your repair is done correctly the first time, using the proper materials, techniques, and installation standards.
Why Hire A Professional
- Quality workmanship: Professional roofers follow proven repair methods to ensure the issue is fully resolved, not just temporarily covered.
- Improved safety: Roofing work involves heights, tools, and materials that can be dangerous without proper training and equipment.
- Accurate diagnosis: Professionals can identify underlying issues such as water intrusion, damaged decking, or ventilation problems that DIY repairs often miss.
Long-Term Advantages Of Professional Roof Repair
- Prevents recurring issues: Proper repairs reduce the risk of future leaks and repeated fixes.
- Protects your roofing system: Ensures all components work together as intended.
- Saves money over time: Avoids costly repairs caused by incomplete or incorrect DIY work.
Professional roof repair services are especially important for larger or more complex roofing systems, where improper repairs can compromise the entire structure. In these situations, relying on experienced roofing professionals is the most effective way to protect your home and ensure lasting results.
Trust O’Donnell Roofing Co. For Your Roofing Needs
Your home deserves reliable protection, and your roof plays a major role in keeping it safe. Whether you need a simple roof patch or a more extensive roof repair, working with experienced professionals ensures the job is done right.
At O’Donnell Roofing Co., we provide expert roofing solutions tailored to each homeowner’s needs. Our team focuses on long-term performance, quality materials, and dependable service.
- Experienced team: Skilled in all types of roof repair.
- High-quality materials: Ensures durability and longevity.
- Customer-first approach: Focused on clear communication and results.
Contact us today to schedule a free inspection and ensure your roof stays protected for years to come.