A damaged roof can lead to significant problems for homeowners, from water leaks to compromised structural integrity. If you’ve been searching for information on how to safely complete a roof patch, we’ve got you covered. This guide will walk you through the entire process of patching your roof step by step, helping you protect your home while saving on expensive repairs.
Whether you’re dealing with a leaky roof, missing shingles, or minor cracks, the following guide will help you:
- Understand the tools and materials you’ll need for a roof repair
- Learn expert techniques to minimize potential future damage
- Make confident decisions about DIY roofing or when to call a professional
Now, let’s get started on your roof repair project!
👍 Understanding When a Roof Patch is Needed
Recognizing Common Roofing Issues
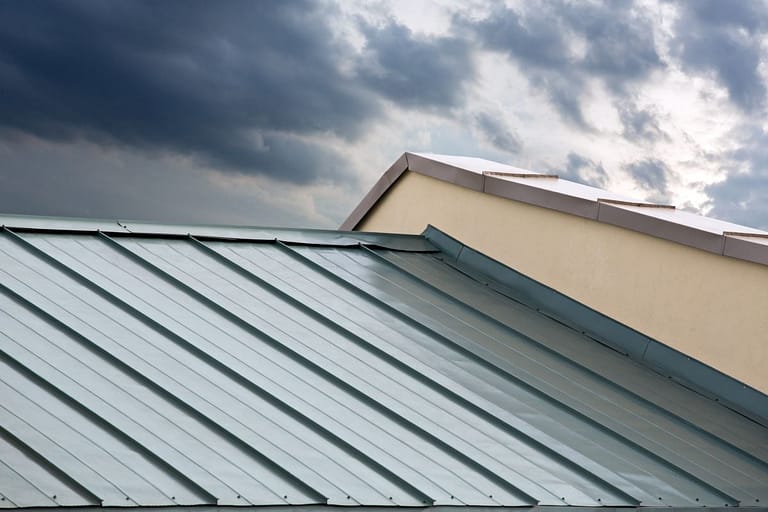
Before tackling a roof patch, it’s essential to identify what type of damage you’re facing. The most common roofing problems homeowners encounter include:
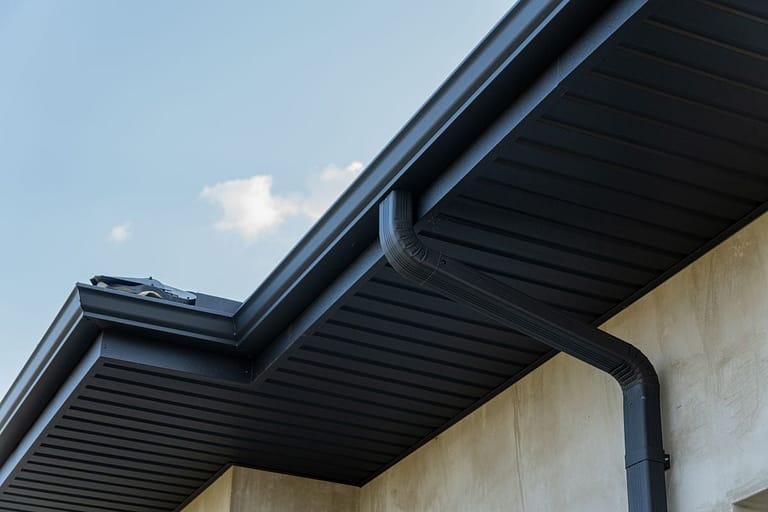
- Leaking Roofs: Caused by cracked shingles, damaged flashing, or clogged gutters, leaks can lead to water damage inside your home.
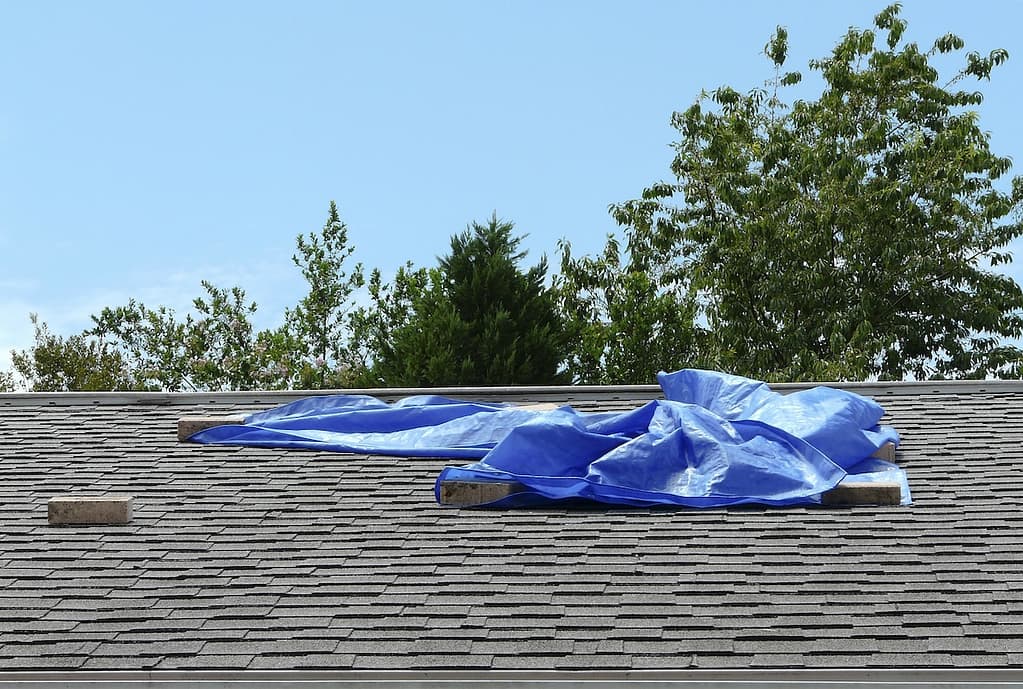
- Missing or Damaged Shingles: High winds, storms, or aging can cause shingles to go missing or become compromised.
- Punctures or Holes: Debris, hail, or fallen branches may create holes or punctures in your roof that leave it vulnerable.
- Blistering or Cracking: Over time, roof materials may blister or crack due to age, heat, or poor installation.
When to Take Action
Knowing when to repair your roof is vital. Visible leaks, water stains on ceilings, or curling shingles all indicate you need to act quickly to limit further damage. If the problem is small and manageable, a DIY roof patch might be the right solution. However, for widespread or severe damage, hiring a professional roofing contractor is always the safest option.
🛠️ What You’ll Need Before Starting Your Roof Patch
Before beginning any roof repair, make sure you have the necessary tools and materials. Here’s a checklist:
- A sturdy ladder for safe roof access.
- Roofing nails and a hammer.
- Roofing adhesive or sealant.
- Replacement shingles for damaged areas.
- Roofing paper or underlayment (if needed).
- Putty knife and utility blade.
- Safety gear, including gloves, goggles, and non-slip shoes.
Having these items ready will ensure your roof patch process is smooth and efficient.
✅ Step-by-Step Guide to Patching Your Roof
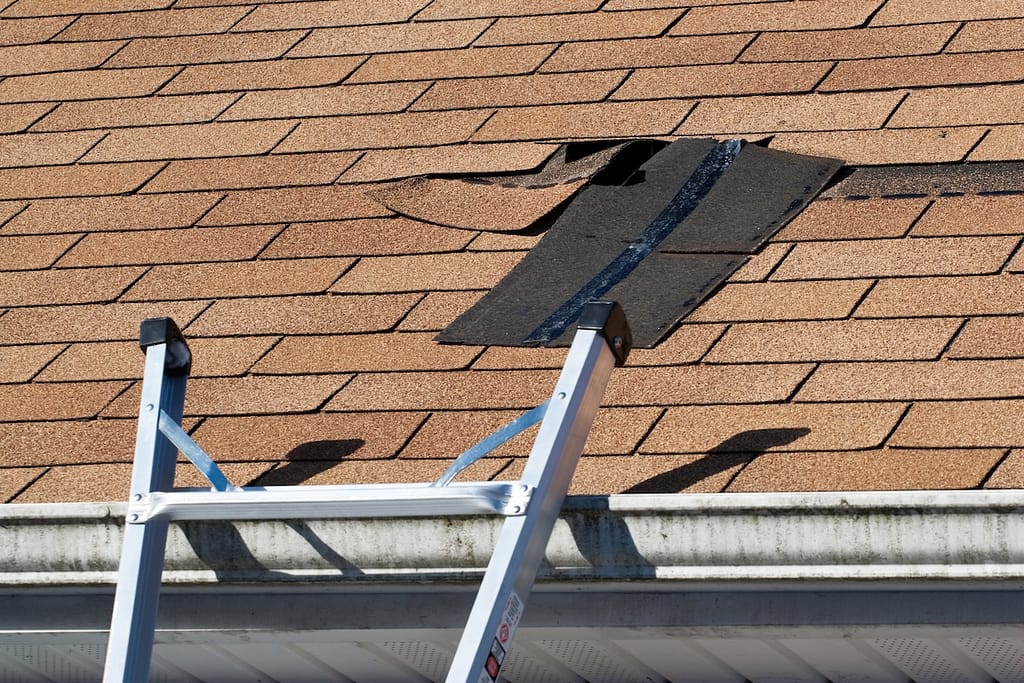
Step 1. Inspect the Damage
Start by carefully inspecting the damaged area of your roof. Use binoculars or climb onto your roof if it’s safe to do so. Take note of:
- The extent of the damage (e.g., missing shingles, holes, cracks).
- Potential underlying issues, such as rotting wood or mold.
- Whether neighboring shingles or materials are also at risk.
Step 2. Ensure Safety First
Roofing work can be hazardous, so always prioritize your safety:
- Ensure your ladder is stable and positioned on level ground.
- Wear non-slip shoes to prevent accidents.
- Avoid working during harsh weather conditions or extreme heat.
- Consider having a helper on standby, especially for higher roofs.
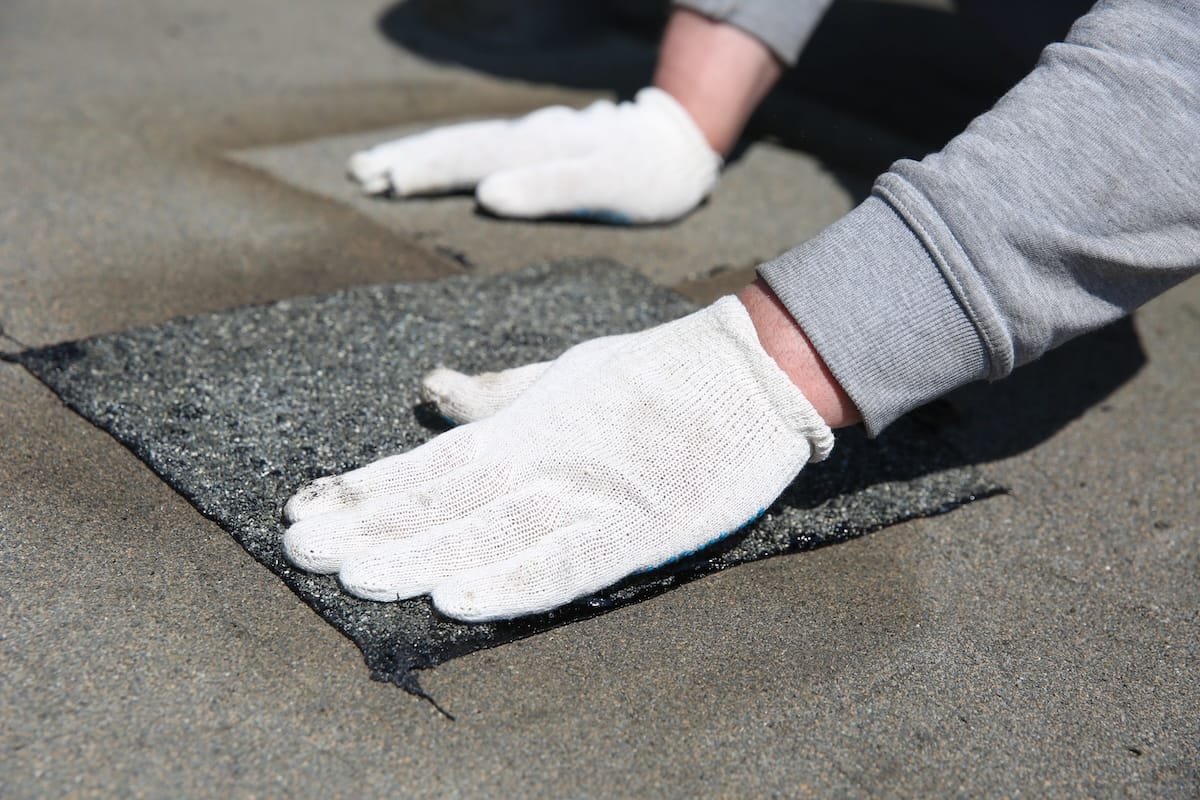
Step 3. Prep the Surface
Before applying any materials to your roof, prepare the damaged area:
- Clear away debris like leaves, dirt, or broken shingle pieces.
- Use a putty knife to remove old adhesive or loose material.
- Dry the area thoroughly if it’s wet, as roofing materials adhere better to clean, dry surfaces.
Step 4. Apply Roofing Paper (Optional)
If the roof patch requires it, lay down roofing paper or underlayment over the affected area:
- Cut the paper to size, ensuring it extends slightly beyond the damaged section.
- Secure it with roofing nails or adhesive, ensuring it lays flat and covers all gaps.
Step 5. Attach Replacement Shingles
Use new shingles to replace any that are missing or severely damaged:
- Align the replacement shingle with the surrounding ones for a seamless appearance.
- Nail the shingle into place at each corner, ensuring it’s securely attached.
- Seal the edges with roofing adhesive to prevent water seepage.
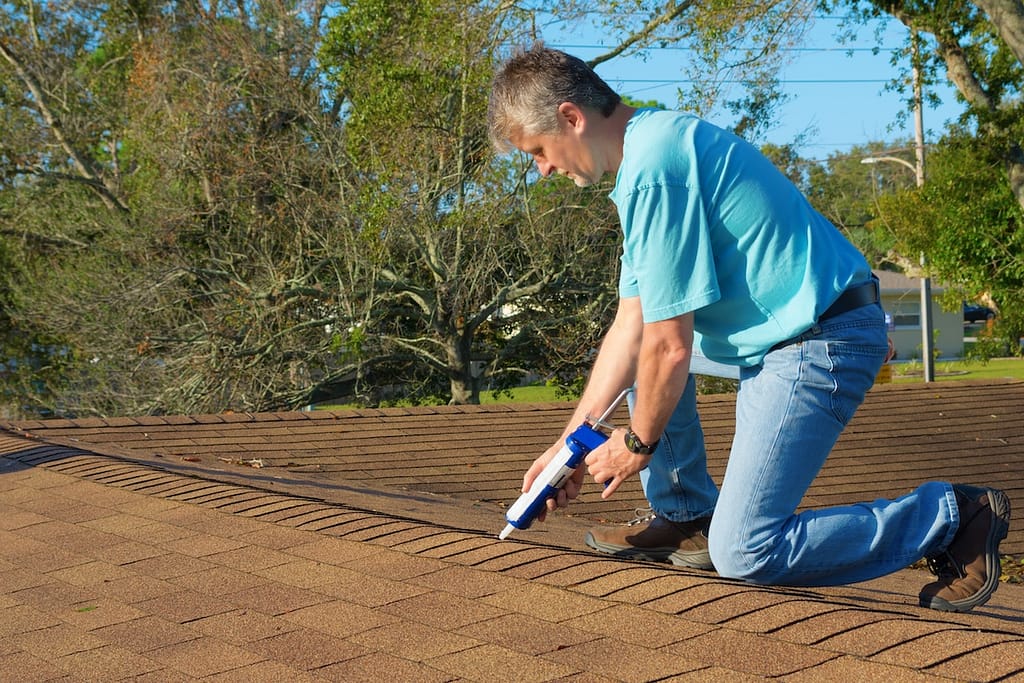
Step 6. Seal All Edges and Cracks
Use a high-quality roofing sealant to cover nail holes, shingle edges, and any visible cracks:
- Apply a generous amount but avoid over-application, which can create lumps.
- Smooth the sealant with a putty knife for a clean finish.
Step 7. Inspect Your Work
Finally, inspect the completed roof patch to ensure everything is secure and watertight:
- Check for any loose shingles or exposed areas.
- Test your patch with water (using a garden hose) to confirm there are no leaks.
- Make adjustments as needed to ensure your roof repair holds up.
⭐️ The Benefits of Professional Roof Repair
While a DIY roof patch can resolve minor damage, some situations demand professional expertise. Hiring experienced roofing contractors provides:
- Guaranteed Quality: Professionals ensure repairs are durable and long-lasting.
- Safety Assurance: Trained teams can safely handle the challenges of working at heights.
- Expert Diagnosis: Professionals identify underlying issues that an untrained eye might miss.
At O’Donnell Roofing Co., we take pride in offering exceptional roof repair services tailored to homeowners. When you choose us, you’re choosing a team that:
- Has decades of roofing experience and a stellar reputation.
- Uses only the highest-quality materials for every repair.
- Offers transparent pricing and unmatched customer service.
Trust O’Donnell Roofing Co. for Your Roofing Needs
Your home deserves the best protection, and so does your family. For lasting solutions and reliable repairs, O’Donnell Roofing Co. is the trusted partner homeowners count on. Whether you need a simple roof patch or a comprehensive roof repair, our team is here for you.
Contact us today, and together, we’ll ensure your home stays safe, dry, and protected for years to come!