

Learning how to install gutters helps homeowners understand what goes into protecting a house from water damage, whether you plan to do the job yourself or simply want to know what a professional installation should involve. While a gutter installation can be a DIY project, it requires careful measurement, the right tools, and close attention to detail, since mistakes can lead to leaks, clogs, and costly repairs later. This step-by-step guide walks through the entire process from planning to final testing. Here is what you will learn:
- The 8 essential steps: A clear, ordered walkthrough of the installation process.
- Tools and materials: Everything you need for a successful installation.
- DIY vs. professional: How to decide which option is right for your home.
If you live in Devon or surrounding areas, this guide will help you decide whether to tackle your own gutter installation or trust the pros for long-term peace of mind.
Understanding the Role of Gutters
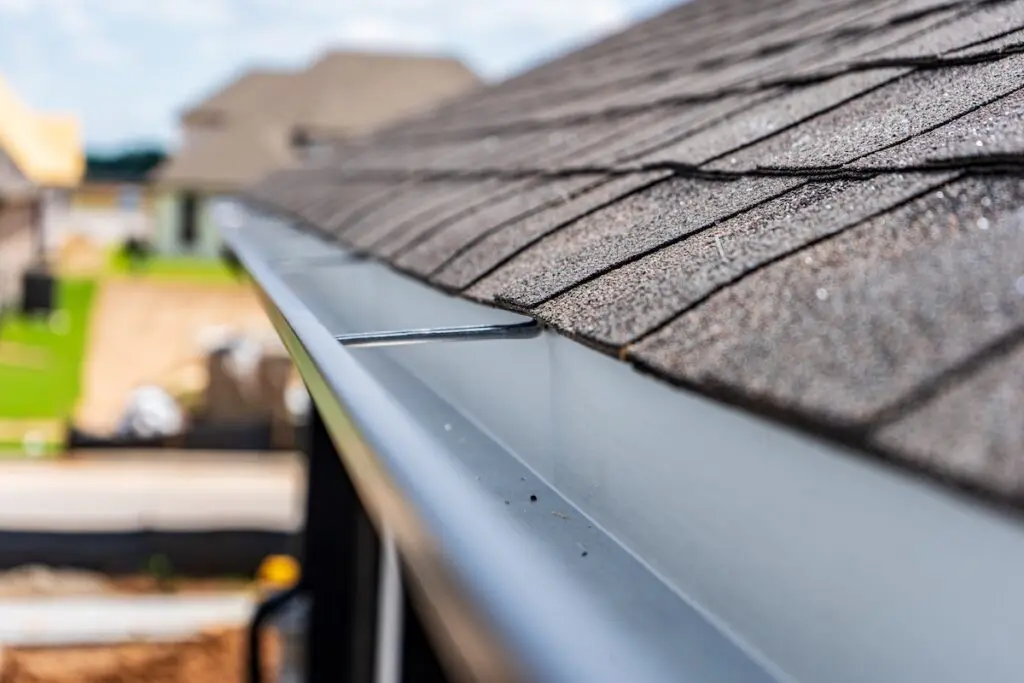
Gutters protect your home by directing rainwater away from the foundation, siding, and landscaping. Without proper drainage, even light rainfall can cause erosion, basement leaks, and costly structural problems over time.
Why Proper Installation Matters
Proper gutter installation is what stands between your home and water damage, since even a well-made gutter fails if it is pitched wrong or poorly sealed. Correctly aligned gutters reduce overflow and pooling, direct water safely away from the foundation, and help extend the life of your roof by keeping standing water away from the eaves. Good installation also means less maintenance, because the right slope and downspout placement minimize clogging. These benefits are why precision matters from the very first measurement.
- Prevents leaks: Correctly aligned gutters reduce overflow and pooling.
- Protects the foundation: Directs water safely away from your home’s base.
- Extends roof life: Prevents standing water near eaves and shingles.
- Reduces maintenance: Proper slope and downspout placement minimize clogging.
Why Gutters Matter in Pennsylvania
Gutters work especially hard in southeastern Pennsylvania, where both heavy rain and winter snow put real demands on a drainage system. According to the Pennsylvania State Climatologist, average annual precipitation in the region ranges from about 37 inches in the lower Susquehanna Valley to about 46 inches in Chester County, and during a severe coastal storm a normal month’s worth of rain can fall in just 48 hours. On top of that, the region’s freeze-thaw cycles and snowmelt add stress that makes correct slope, secure hangers, and adequate downspout capacity essential for local homes.
- High annual rainfall: Chester County averages up to about 46 inches per year.
- Intense storms: A month’s rain can fall within 48 hours during coastal storms.
- Freeze-thaw stress: Winter cycles and ice dams strain gutters and fasteners.
- Snowmelt load: Proper capacity handles both rain and melting snow.
Tools and Materials Needed for Installation
Before beginning a DIY project, gather all the necessary tools and materials, since having the right setup ensures both safety and efficiency. Running out to the store mid-install is one of the most common ways a project stalls.
- Materials: Aluminum or vinyl gutters, end caps, downspouts, elbows, hangers, and sealant.
- Tools: Ladder, tape measure, drill, hacksaw or tin snips, level, caulk gun, and safety gloves.
- Fasteners: Screws or rivets for brackets and joints.
- Sealant: Waterproof silicone to seal seams and joints.
Choosing a durable material and a finish that suits your home matters too, and reviewing gutter colors before you buy helps ensure the new system complements your exterior.
8 Steps: How to Install Gutters
Installing gutters the right way requires patience and precision. The eight steps below break down the process most professionals follow when putting in a new system.
1. Measure the Roofline and Plan the Layout
Start by determining exactly where the gutters and downspouts will go, measuring each section of the roofline carefully and marking downspout locations to ensure proper water flow. Planning the full layout before you cut anything prevents costly mistakes and material waste. Note the position of each corner, and plan for at least one downspout for roughly every 30 to 40 feet of gutter. A clear plan is the foundation of a watertight system.
- Measure carefully: Record the length of each run along the roofline.
- Mark downspouts: Plan downspout placement for efficient drainage.
- Plan corners: Account for inside and outside corners in your layout.
- Reduce waste: A complete plan minimizes cutting errors.
2. Calculate the Slope for Drainage
Gutters need a slight slope, typically about 1/4 inch for every 10 feet, so water flows toward the downspouts rather than pooling. Snap a chalk line to mark the slope so your installation stays consistent along the entire run. Too little slope leaves standing water, while too much looks off and can cause fast, noisy runoff. Getting this pitch right is one of the most important steps in the whole process.
- Standard slope: About 1/4 inch of drop per 10 feet of gutter.
- Use a chalk line: Mark the slope for a consistent guide.
- Avoid pooling: Too little slope leaves standing water.
- Balance the pitch: Enough to drain, not so much it looks uneven.
3. Cut and Prepare the Gutter Sections
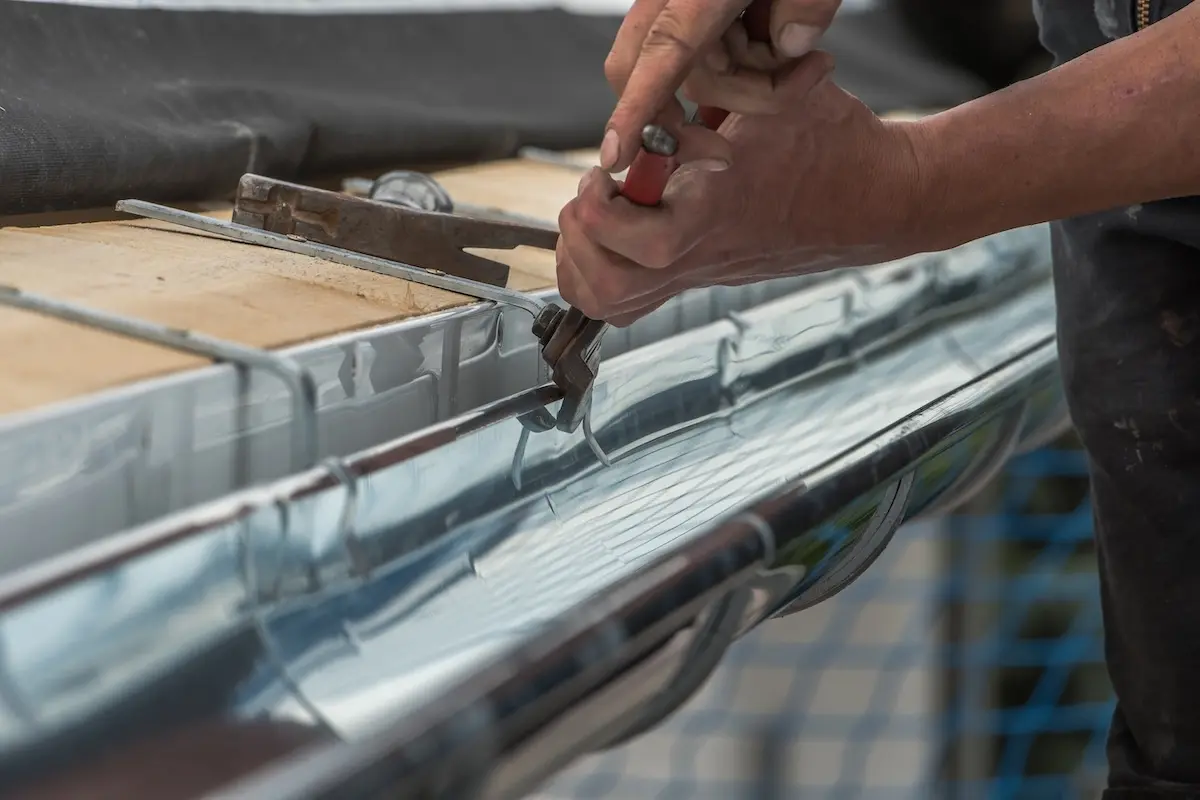
Use tin snips or a hacksaw to cut the gutter sections to fit your measurements, working carefully to keep the cuts clean and square. For seamless systems, sections are fabricated on-site with a gutter machine, which is why seamless gutters are typically a professional job. Deburr any rough edges after cutting to ensure tight, clean joints. Precise cuts here make the assembly steps far easier.
- Cut to measurement: Use tin snips or a hacksaw for accurate lengths.
- Keep cuts square: Clean, straight cuts create better joints.
- Seamless is pro work: On-site fabrication requires a gutter machine.
- Deburr edges: Smooth rough edges for tight connections.
4. Attach the Hangers and Brackets
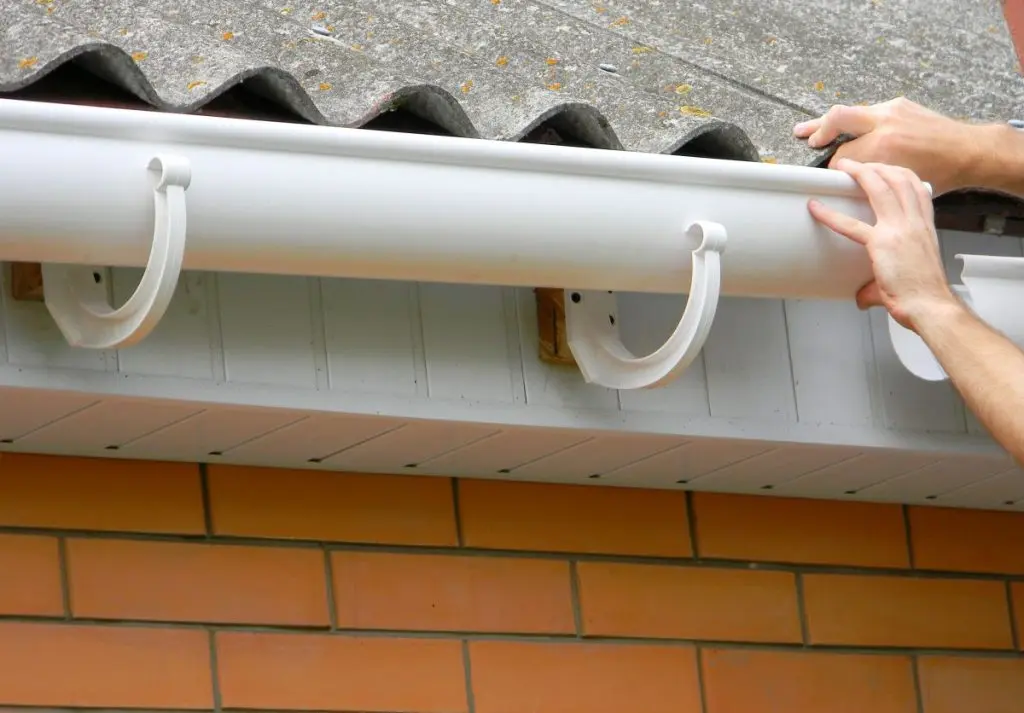
Secure hangers or brackets to the fascia board, spacing them every 2 to 3 feet so the gutters can handle heavy rainfall and snow load without sagging. In a region with wet, snowy winters, tighter spacing adds valuable support. Fasten each hanger into solid wood, not just the fascia trim, for a secure hold. Proper spacing and solid fastening are what keep gutters attached for the long haul.
- Space every 2 to 3 feet: Prevents sagging under heavy loads.
- Fasten into solid wood: Anchor hangers securely, not into trim alone.
- Tighter in snow country: Closer spacing supports winter loads.
- Check alignment: Keep hangers on the marked slope line.
5. Install the Gutter Sections
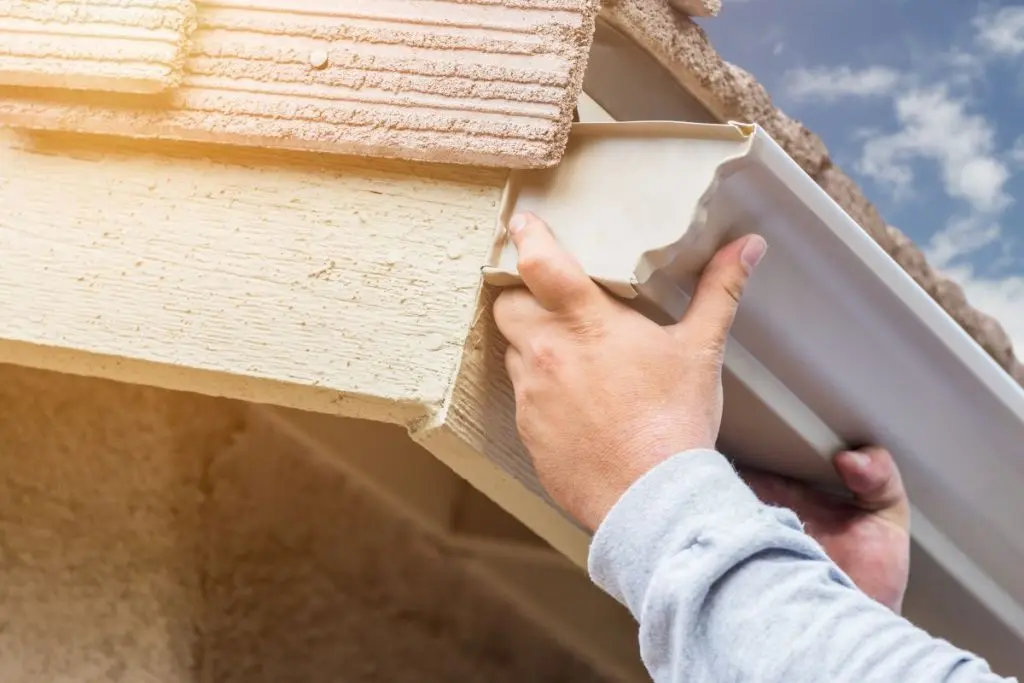
Align the gutter sections with the slope line and attach them securely to the hangers, working along the run and keeping everything level to the chalk guide. Use sealant or rivets at joints and corners to create watertight connections, since these seams are the most common leak points. Overlap sections correctly so water flows over, not against, each joint. Careful assembly here prevents the leaks that plague rushed installations.
- Follow the slope line: Keep sections aligned to your chalk guide.
- Seal the joints: Use sealant or rivets at seams and corners.
- Overlap correctly: Ensure water flows over each connection.
- Secure to hangers: Fasten each section firmly in place.
6. Add End Caps and Downspout Outlets
Seal both ends of the gutters with end caps and cut holes for the downspout outlets wherever your layout calls for them. Apply sealant around all connections to keep them watertight, paying special attention to the outlet holes. Position outlets at the low end of each sloped run so water drains efficiently. Sealing these points thoroughly prevents slow drips that cause damage over time.
- Cap the ends: Seal both ends of each gutter run.
- Cut outlet holes: Place outlets at the low end of each run.
- Seal connections: Apply sealant around every joint and outlet.
- Check placement: Confirm outlets align with downspout locations.
7. Attach the Downspouts and Elbows
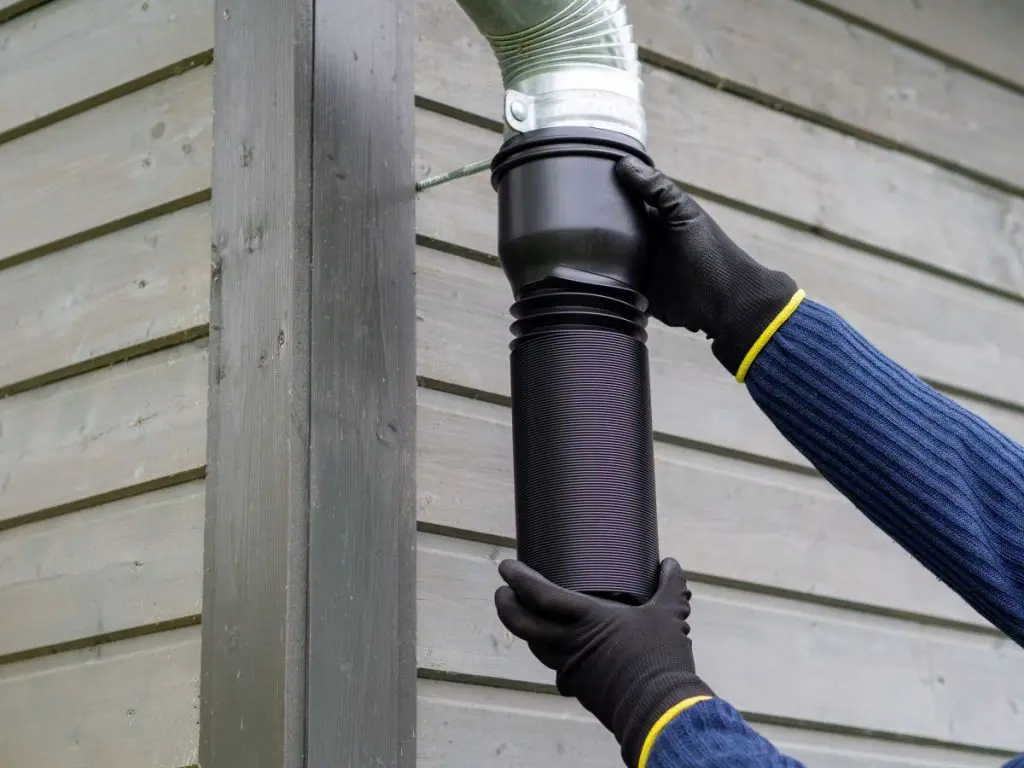
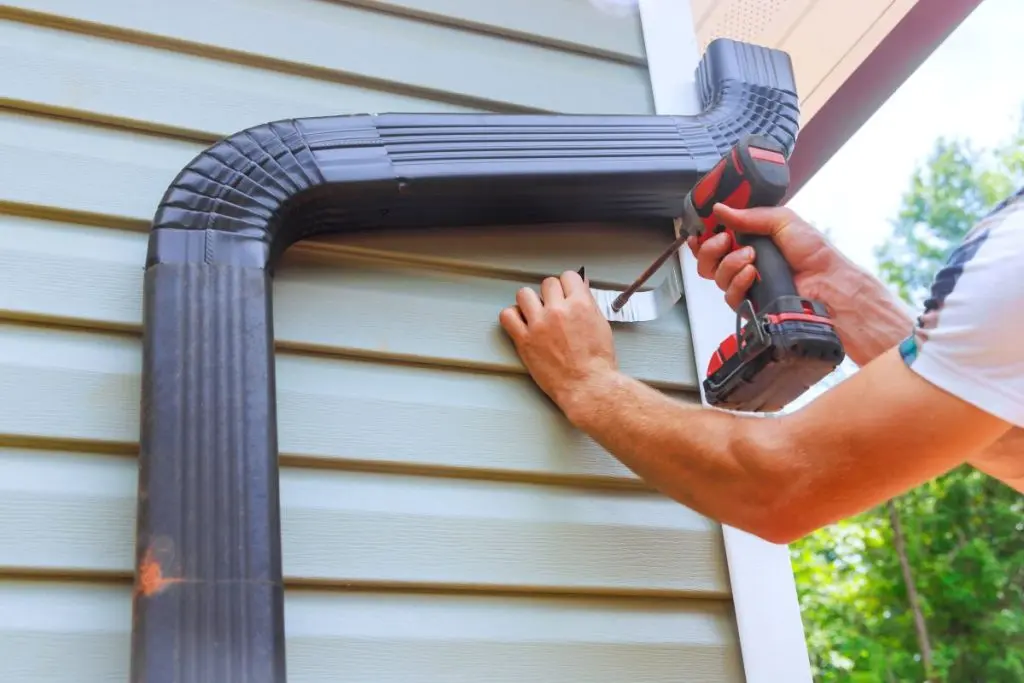
Secure the downspouts to the outlets using elbows and straps, running them down the wall and fastening them so they stay put in wind and storms. Position the bottom elbows to direct water well away from the foundation, or into a drainage system, splash block, or extension. In Pennsylvania’s freeze-thaw climate, keeping water away from the foundation is especially important to prevent cracking. Proper downspout routing completes the path that carries water safely away.
- Use elbows and straps: Secure downspouts firmly to the wall.
- Direct water away: Aim discharge away from the foundation.
- Add extensions: Use splash blocks or extensions as needed.
- Secure for storms: Fasten downspouts to withstand wind.
8. Test for Leaks and Adjust as Needed
Run water through the gutters with a hose to confirm proper flow and slope, watching for any spots where water pools or drips. Seal any leaks you find and adjust the brackets if the water is not draining correctly toward the downspouts. This final check is your chance to catch problems before the next storm does. A thorough test ensures the system performs from day one.
- Run a hose test: Confirm water flows toward the downspouts.
- Watch for pooling: Identify any low spots that trap water.
- Seal leaks: Address drips at seams and connections.
- Adjust as needed: Fine-tune brackets for correct drainage.
By following these steps carefully, homeowners can install basic gutter systems successfully, though precision and safety should always come first.
Common DIY Mistakes to Avoid
Even experienced DIYers can make errors that affect gutter performance, and knowing them in advance helps you avoid a redo. These are the missteps that most often lead to leaks and overflow.
- Incorrect slope: Without the proper angle, water pools or overflows.
- Loose hangers: Weak fastening lets gutters sag or detach over time.
- Improper sealing: Gaps or thin sealant lines cause leaks at seams.
- Insufficient downspouts: Too few downspouts cause overflow during heavy rain.
- Unsafe ladder use: Always follow safety guidelines and use a stable ladder base.
Benefits of Hiring Professional Gutter Installers
While a DIY project can save money initially, hiring professionals often provides better long-term value and fewer complications. The advantages go well beyond simply saving a weekend.
Professional Installation Advantages
Professional installers bring custom fabrication, proper technique, and quality materials that are hard to match on a DIY job. They create seamless gutters on-site for a perfect fit, ensure the pitch and alignment deliver optimal water flow, and use heavy-gauge aluminum or copper for lasting strength. Many companies also back their work with warranties on both materials and labor, and they have the training and equipment to work safely at heights. For most homeowners, that combination is well worth the cost.
- Custom fabrication: Pros create seamless gutters on-site for a perfect fit.
- Proper pitch and alignment: Ensures optimal water flow and prevents overflow.
- Quality materials: Contractors use heavy-gauge aluminum or copper for durability.
- Warranty and safety: Guarantees on the work, plus trained crews and equipment.
For homeowners in Devon, Havertown, Berwyn, and the greater Philadelphia area, O’Donnell Roofing Co. has provided professional gutter installation for over 100 years. Now in its fourth generation of family ownership, our team brings the precision, experience, and accountability that protects your home for decades to come.
Long-Term Savings
Professional installation reduces the risk of water damage, foundation cracks, and costly gutter repairs, which can easily outweigh the initial savings of a DIY job done incorrectly. A system installed right the first time performs reliably for decades. When you factor in the value of your time and the cost of fixing mistakes, professional work often proves the smarter investment. This is especially true on complex or multi-story homes.
- Fewer repairs: Correct installation prevents recurring problems.
- Avoids water damage: Protects the foundation, siding, and basement.
- Saves time: No weekend spent measuring, cutting, and climbing.
- Better on complex homes: Multi-story and intricate rooflines favor pros.
Comparing DIY vs. Professional Installation
Deciding between DIY and professional installation comes down to cost, time, skill, and how much reliability matters to you. The table below lays out the key differences at a glance.
| Installation Type | Cost Range (per linear foot) | Time Required | Skill Level | Long-Term Reliability |
| DIY Installation | $4 to $8 | 1 to 2 days | Moderate to advanced | Varies by accuracy |
| Professional Installation | $12 to $14 | 1 day | Expert | Consistent and warrantied |
While DIY may appeal to homeowners comfortable with tools, professional installation ensures a lasting, low-maintenance gutter system that performs properly from day one.
Maintenance Tips for Gutters
Regardless of who installs your gutters, proper maintenance is key to long-term performance. A little seasonal attention keeps the system working through Pennsylvania’s wet springs and snowy winters.
- Clean twice a year: Remove leaves and debris in spring and fall.
- Inspect seams and fasteners: Tighten or reseal as necessary.
- Check slope annually: Ensure gutters still drain properly after seasonal changes.
- Add gutter guards: Reduce clogs and extend the time between cleanings.
With consistent upkeep, aluminum or copper gutters can last 20 to 30 years or more.
Gutter Guards: An Easy Upgrade for Long-Term Protection
Gutter guards are a valuable addition to any gutter system, helping prevent clogs and reducing the need for frequent cleanings. They act as a barrier that keeps out debris while letting water flow freely, which ensures consistent drainage even during the heavy rain common in the region.
How Gutter Guards Work
Gutter guards fit over or inside your existing gutters to block leaves, twigs, and other debris, and depending on the design they can be made from mesh, perforated metal, foam, or brush inserts. By preventing buildup, these guards help your gutters perform efficiently with minimal maintenance. They are especially useful on homes surrounded by trees, where debris accumulates fast. The main styles include:
- Mesh guards: Fine screens that stop small debris while allowing steady water flow.
- Reverse curve guards: Use surface tension to guide water in while deflecting leaves.
- Foam inserts: Fit inside gutters to block large debris while letting water pass.
- Brush-style guards: Bristled inserts that catch leaves but let water filter through.
Benefits of Gutter Guards
Beyond keeping debris out, gutter guards deliver a range of practical benefits that protect both the gutters and your home. They reduce the frequency of cleaning, keep downspouts clear for better flow, and cut down on the standing water that causes rust and corrosion. By preventing overflow, they also help guard against foundation damage during storms, and they discourage pests from nesting. Together these advantages make guards a worthwhile upgrade for many homes.
- Reduced maintenance: Minimize the need for seasonal cleaning.
- Clog prevention: Keep downspouts clear for better water flow.
- Extended lifespan: Less standing water means reduced rust and corrosion.
- Pest control: Discourage birds, squirrels, and insects from nesting.
Frequently Asked Questions
How Long Does It Take to Install Gutters Yourself?
A DIY gutter installation typically takes one to two days depending on the size of your home and your experience level. Professional installers can usually complete the same job in a single day. Complex or multi-story homes take longer and are better suited to professionals.
What Materials Do I Need to Install Gutters?
You will need gutter sections, end caps, downspouts, elbows, hangers, and sealant, plus a ladder, tape measure, drill, hacksaw or tin snips, a level, and safety gloves. Aluminum is the most popular DIY material for its balance of durability and ease of handling. Having everything ready before you start keeps the project moving.
Is It Better to DIY Gutters or Hire a Professional?
DIY installation can work for simple, single-story projects and costs about $4 to $8 per linear foot. Professional installation runs $12 to $14 per linear foot but includes custom seamless fabrication, warranty protection, and guaranteed proper drainage. For complex rooflines or if you are uncomfortable working at heights, hiring a pro is the safer choice.
What Slope Should Gutters Have?
Gutters should slope about 1/4 inch for every 10 feet toward the downspouts so water drains properly instead of pooling. On longer runs, the slope is often directed toward downspouts at both ends. Getting this pitch right is one of the most important parts of a successful installation.
How Often Should Gutters Be Cleaned?
Gutters should be cleaned at least twice a year, typically in spring and fall, to remove leaves and debris and ensure proper water flow. Homes surrounded by trees may need more frequent cleaning. Adding gutter guards reduces how often cleaning is needed.
Do I Need Gutters in Pennsylvania’s Climate?
Yes, gutters are important in Pennsylvania, where heavy seasonal rain, intense storms, and winter snowmelt all send large volumes of water off the roof. Properly installed gutters protect the foundation and siding from that water and help prevent the damage freeze-thaw cycles can cause. A well-designed system is a valuable investment for local homes.
Get Professional Gutter Installation in Devon, PA
Learning how to install gutters gives homeowners real insight into the effort and precision required for a watertight, effective system. While DIY installation can work for simple projects, hiring professionals ensures your gutters function properly for decades without costly issues, especially given the heavy rain and winter weather that homes in Devon and surrounding areas face. If you are in Devon or the greater Philadelphia area, contact O’Donnell Roofing Co. today for a free seamless gutter installation estimate. Our experts deliver precision, reliability, and peace of mind, so your home stays protected year-round.