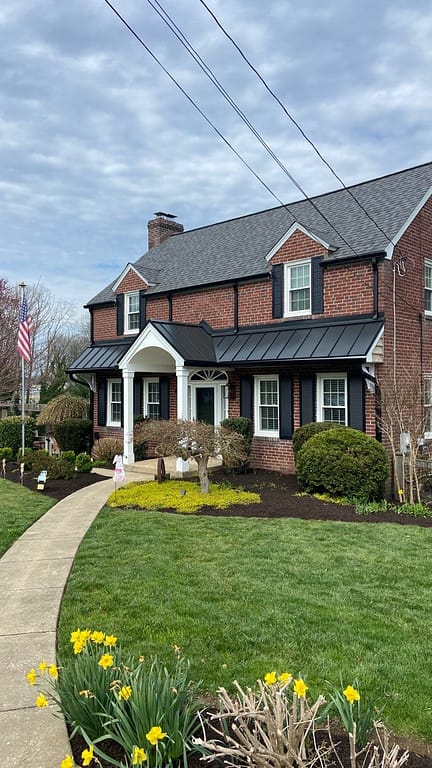
Installing a frieze board on your roof can enhance your home’s exterior, add architectural charm, and protect vulnerable areas of your house from pests and moisture. Frieze boards are horizontal boards that sit under the roof overhang or eaves, creating a clean transition between the roof and exterior walls. Not only does this small addition increase curb appeal, but it also provides practical benefits that contribute to the long-term integrity of your home.
Here’s what you’ll learn in this step-by-step guide:
- What frieze board is and why it’s an important element for your home.
- The tools and materials you’ll need for the installation process.
- A detailed guide on how to install frieze board on your roof.
Whether you’re a DIY enthusiast or considering hiring professionals, understanding the process will ensure the job is done right.
What Is A Frieze Board And Why Is It Important?
A frieze board may seem like a small detail in the overall appearance of your home, but it plays a significant role in both function and style.
❓ What Is A Frieze Board?
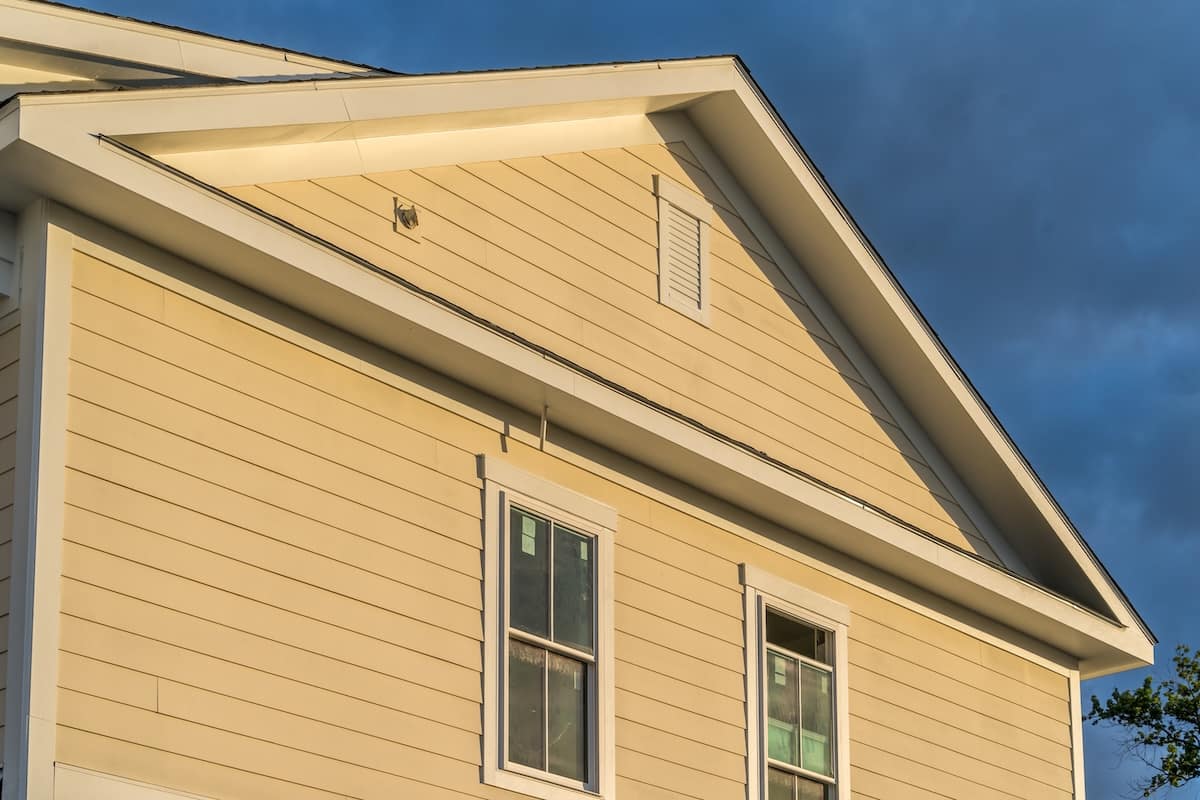
A frieze board is a wide, flat board installed horizontally beneath the roof overhang where the roof meets the exterior walls. These boards are often made from materials like wood, PVC, or fiber cement to ensure durability and resistance to weather conditions.
❗️ The Importance of Exterior Frieze Boards
Properly installed frieze boards not only improve your home’s curb appeal but also act as a barrier to seal gaps between the roof and walls. This reduces the risk of water damage, keeps out pests, and helps your home remain energy-efficient by eliminating drafts. Additionally, they create the perfect base for crown moldings or trim for a polished look.
Tools And Materials You’ll Need
Before starting the installation process, gather all the necessary tools and materials to keep the project running smoothly.

🛠️ Tools You’ll Need:
- Measuring tape
- Power saw (circular or miter)
- Ladder or scaffolding
- Drill/driver
- Hammer
- Pry bar (for old boards)
- Chalk line and level
- Caulking gun
🧰 Materials You’ll Need:
- Pre-fabricated frieze boards (adjust to your desired material, such as fiber cement or wood)
- Nails or screws (galvanized for durability)
- Caulk (paintable exterior caulk)
- Exterior paint and primer, if painting
- Sealant (for weatherproofing)
Step-By-Step Guide To Install Frieze Board
Installing a frieze board might seem complex, but with the right preparation and steps, most homeowners with basic carpentry skills can tackle the project successfully.
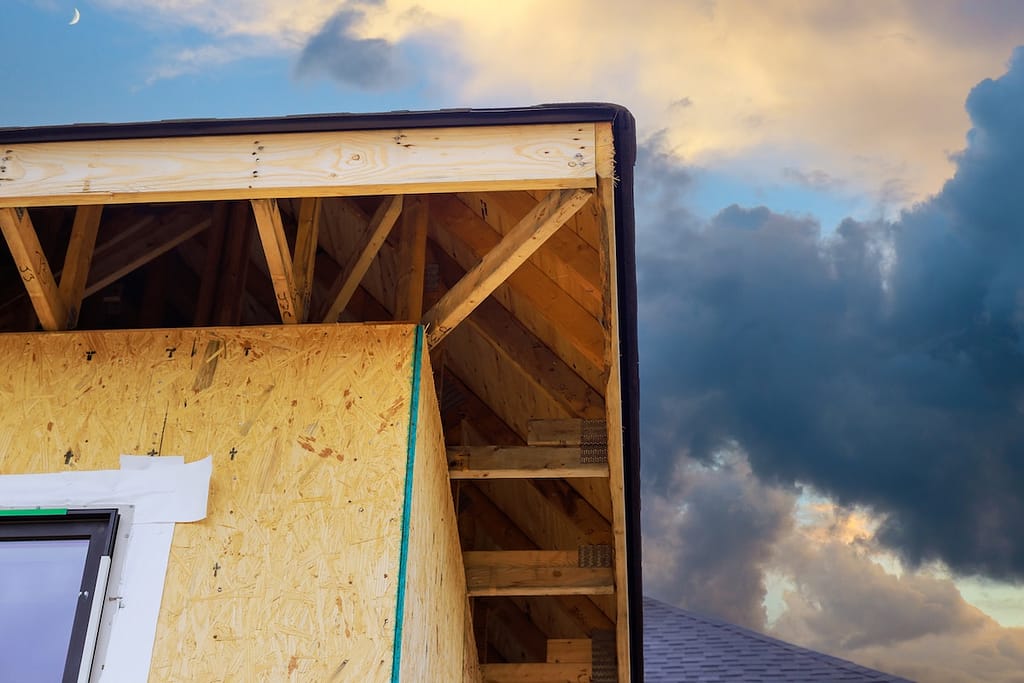
Step 1: Prepping Your Space
Before installing the frieze board, you’ll need to prepare your workspace and ensure safety.
- Inspect and Remove Old Trim (if applicable): Examine the existing trim or frieze boards for any damage or rot. Use a pry bar to remove old boards carefully to avoid damaging the wall or surrounding areas.
- Clean and Measure: Clean the surface where the frieze board will be installed. Measure the space beneath the roof overhang to determine how much material you’ll need.
- Cut Boards to Size: Using a power saw, cut the frieze boards to fit the dimensions you measured earlier. Double-check measurements before proceeding.
Step 2: Mark and Position
For a professional finish, accurate positioning is key.
- Mark Placement: Use a chalk line to draw a straight guide for where you’ll attach the frieze board. Ensure the line is level.
- Dry Fit the Boards: Before fastening, position the boards along the chalk line to ensure they fit correctly.
Step 3: Attach the Frieze Board
Attaching the boards securely will ensure long-lasting results.
- Fasten the Boards: Using galvanized nails or screws, secure the frieze boards to the wall studs. Place fasteners approximately 12-16 inches apart to prevent warping over time.
- Join Sections: If your frieze board requires multiple sections to cover a long stretch, butt the seams together tightly. For cleaner seams, consider a scarf joint (angled cut) instead of a straight cut.
- Seal Gaps: Use paintable exterior caulk to fill any gaps around the edges or between sections. This step protects against water infiltration and pest entry.
Step 4: Paint and Final Touches
Add the finishing touches to complete the installation.
- Prime and Paint: If your frieze boards are unpainted, apply an exterior primer first, followed by two coats of weather-resistant paint. Choose a color that complements your home’s exterior.
- Inspect: Once the paint has dried, inspect your work to ensure all seams are sealed and the paint job is clean.
Pro Tips for Installing Frieze Boards
- If you’re installing fiber cement frieze boards, use carbide-tipped blades for cutting as the material is harder to penetrate than wood.
- Always pre-drill holes in fiber cement boards to prevent cracking during installation.
- For added durability, apply a weather-resistant sealant along the exposed edges of your frieze boards.
Common Mistakes To Avoid
Installing With Uneven Seams
Mismatched or uneven seams can detract from the aesthetic appeal of the final product. Always use a level and ensure precision when joining boards.
Skipping Sealant
Failing to seal gaps or joints can result in moisture damage over time, risking mold growth or structural issues.
Improper Fastening
Incorrect fastening can cause the boards to warp or come loose, especially under severe weather conditions. Always use the correct type of nails or screws for the material.
Additional Applications of Frieze Board
✨ Enhancing Aesthetic Appeal
Pair your frieze board with crown molding or decorative trim to elevate the architectural style of your home.
✅ Insulation Benefits
Aside from aesthetics, the installation of frieze boards acts as an extra layer of insulation in some cases, depending on the material used. Fiber cement is especially effective as it’s heavier and more durable.
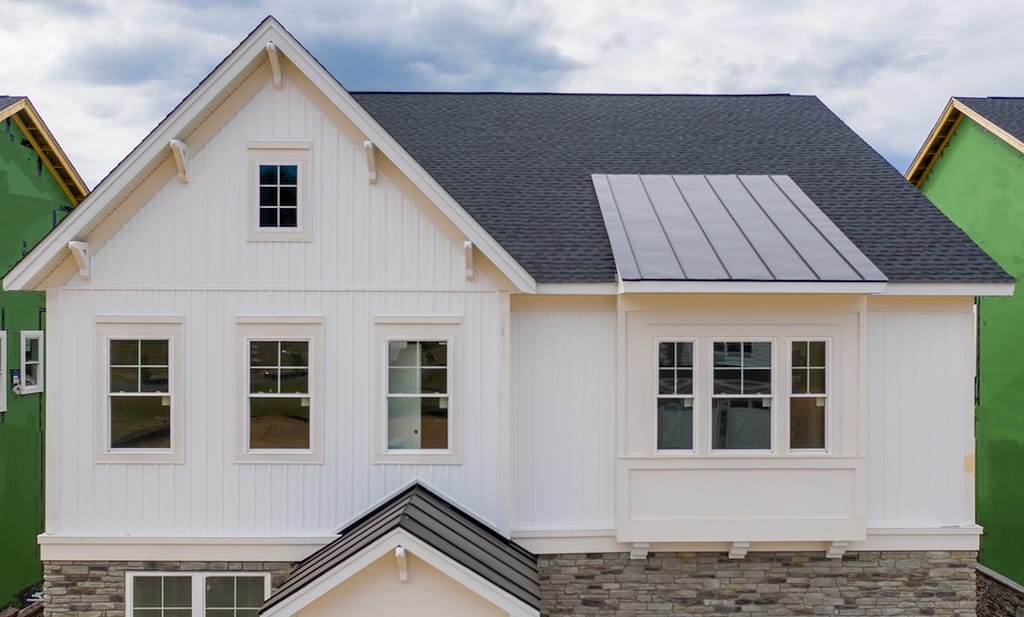
🏠 Complementing the Roof Overhang
A well-installed frieze board ties together the roof overhang and walls, creating a more cohesive and intentional design. It also adds extra support and alignment for other decorative elements.
Frequently Asked Questions About Frieze Boards
What Material Is Best for Frieze Boards?
- The choice between wood, PVC, or fiber cement depends on your preferences. Wood offers a classic look but requires more maintenance, while fiber cement provides durability and is resistant to pests and moisture.
How Long Does It Take To Install?
- Smaller homes may only take a few hours for the installation, whereas larger homes could take a full day or more. Hiring professional installers can save time.
Can I Install Frieze Boards Without Professional Help?
- If you’re confident in your carpentry skills and have the right tools, you can tackle the project yourself. However, professional help ensures precision and efficiency.
Why Choose O’Donnell Roofing for Your Exterior Projects?
At O’Donnell Roofing, we understand how crucial it is to protect and beautify your home. With decades of experience, our team delivers unmatched expertise in roofing and exterior enhancements. Using high-quality materials and expert techniques, we ensure your project is completed efficiently and with exceptional workmanship.
Whether you’re looking to upgrade your home’s curb appeal or enhance its functionality, you can count on us to bring your vision to life. Contact us today to learn more and get started!